How do you create a form?
This article covers the following topics in detail:
Creating a new form
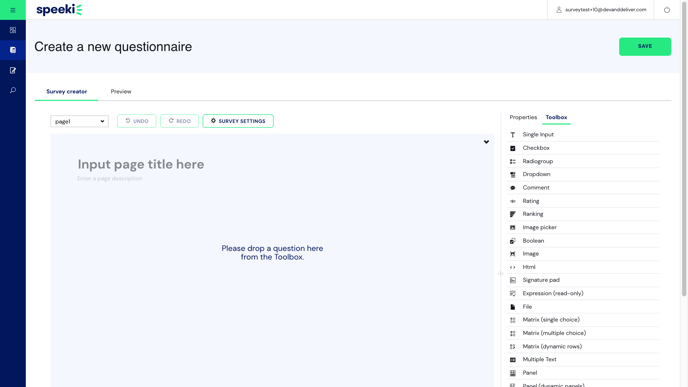
You can click on the CREATE NEW FORM button from the dashboard to create a new form. This will bring you to the screen for creating a form or the form creator tool.
Naming the form and adding form description
You can name your form by clicking on Properties.
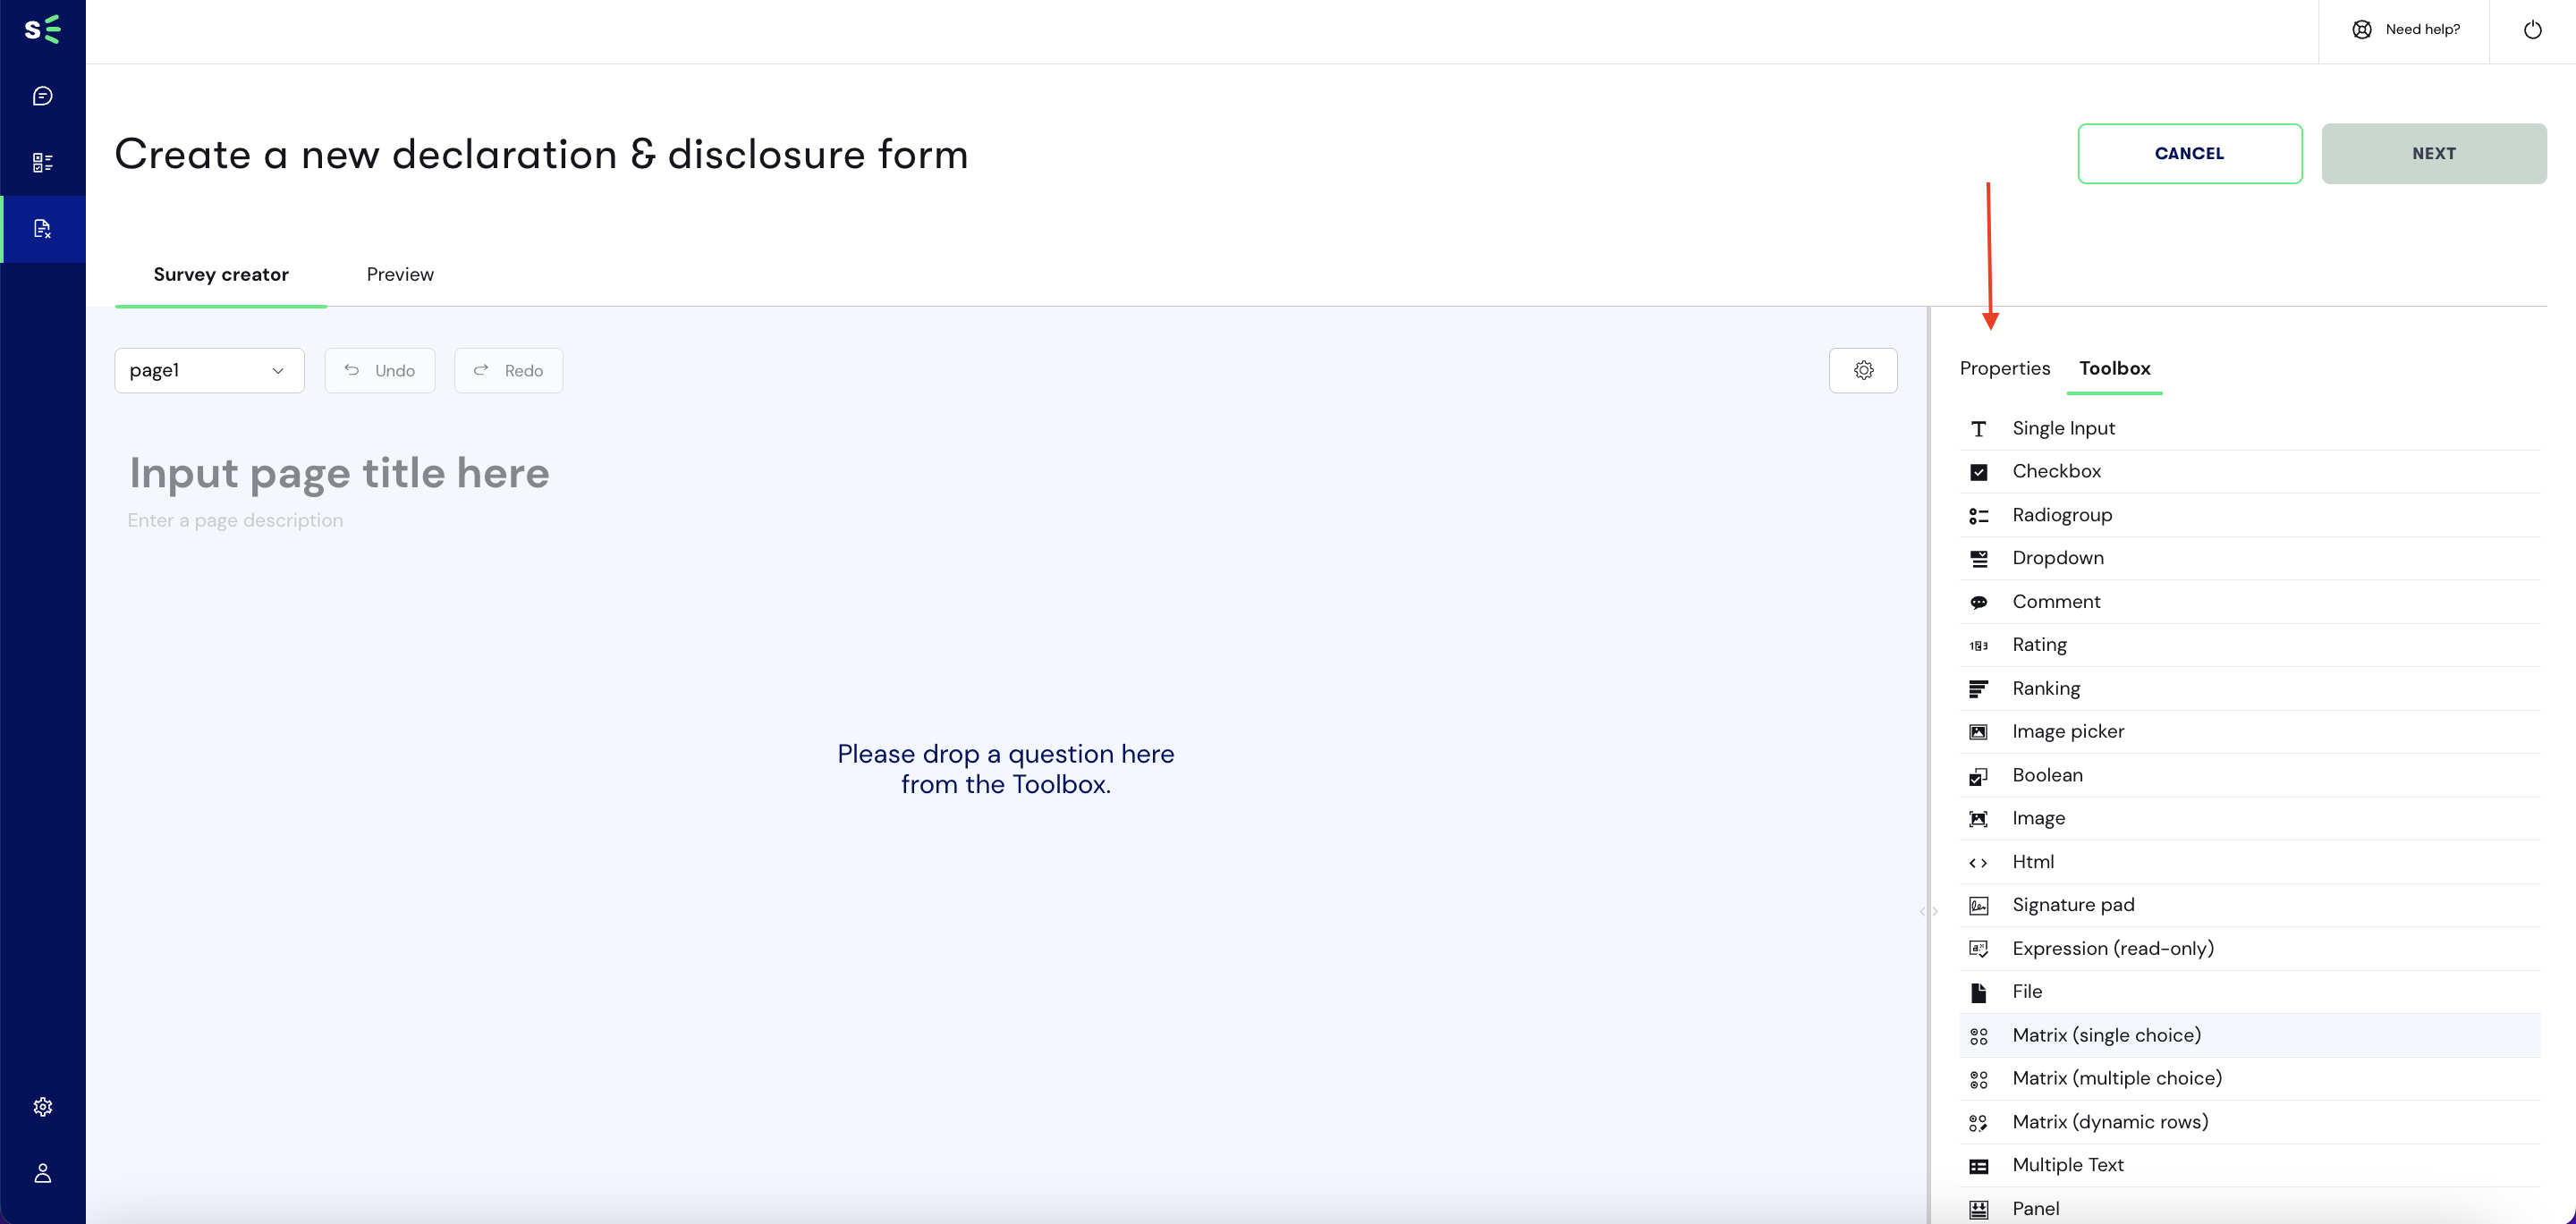
This will show properties that you can fill or configure for your form.

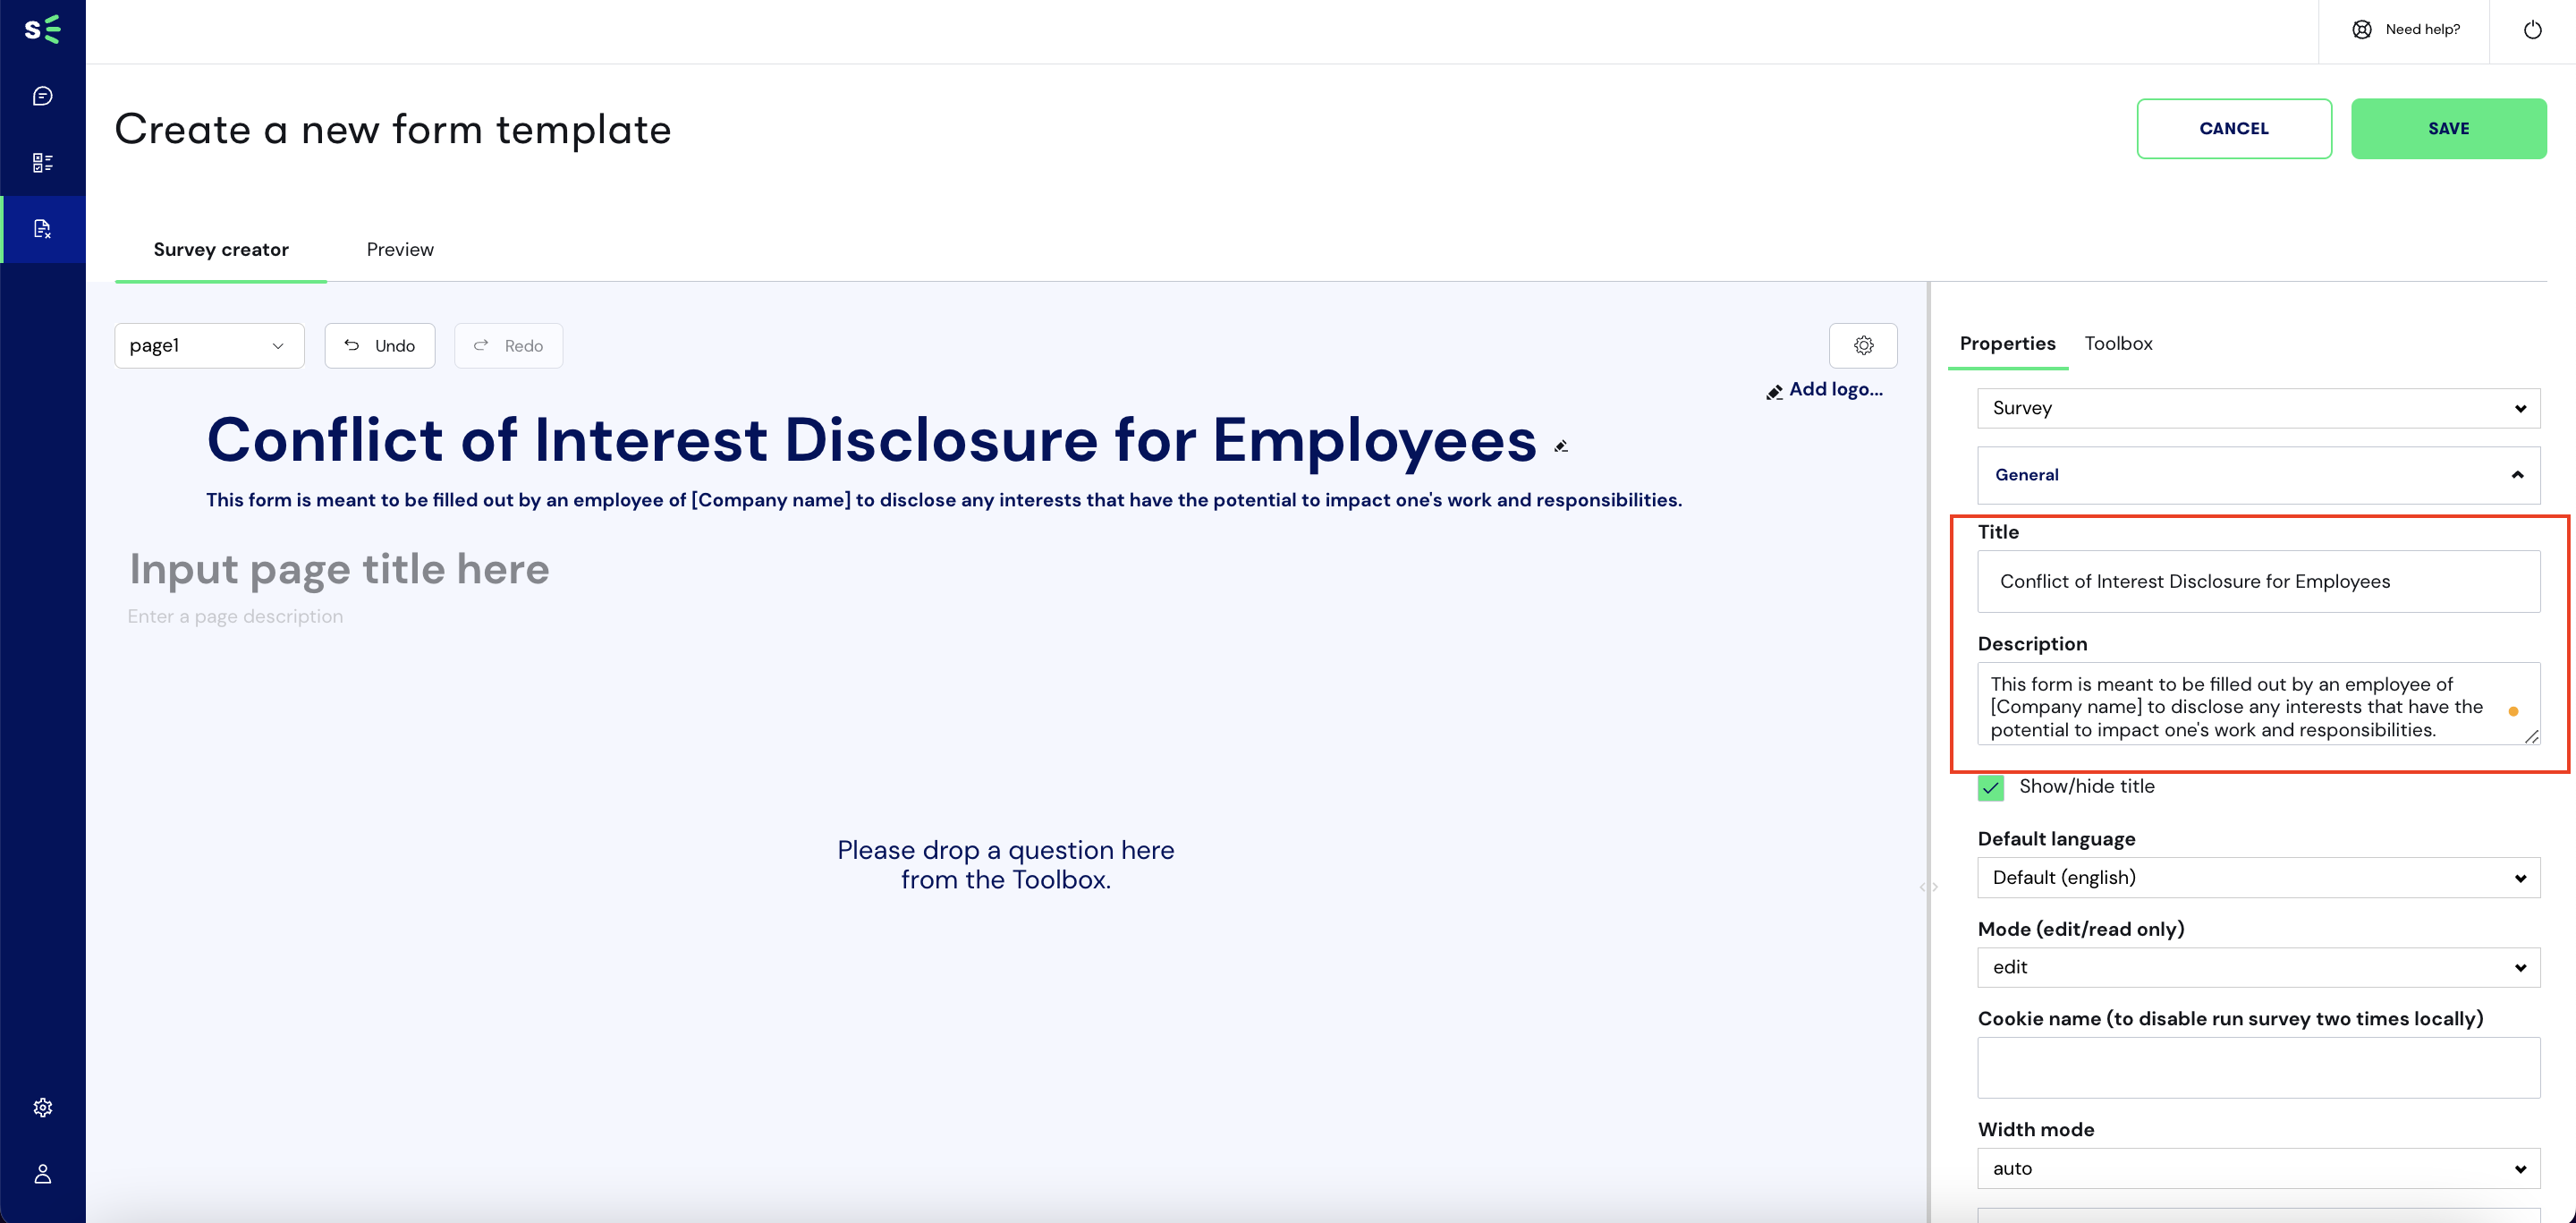
You can name your form by adding a value to the Title property and a description for your form by adding a value to the Description property.
Adding questions
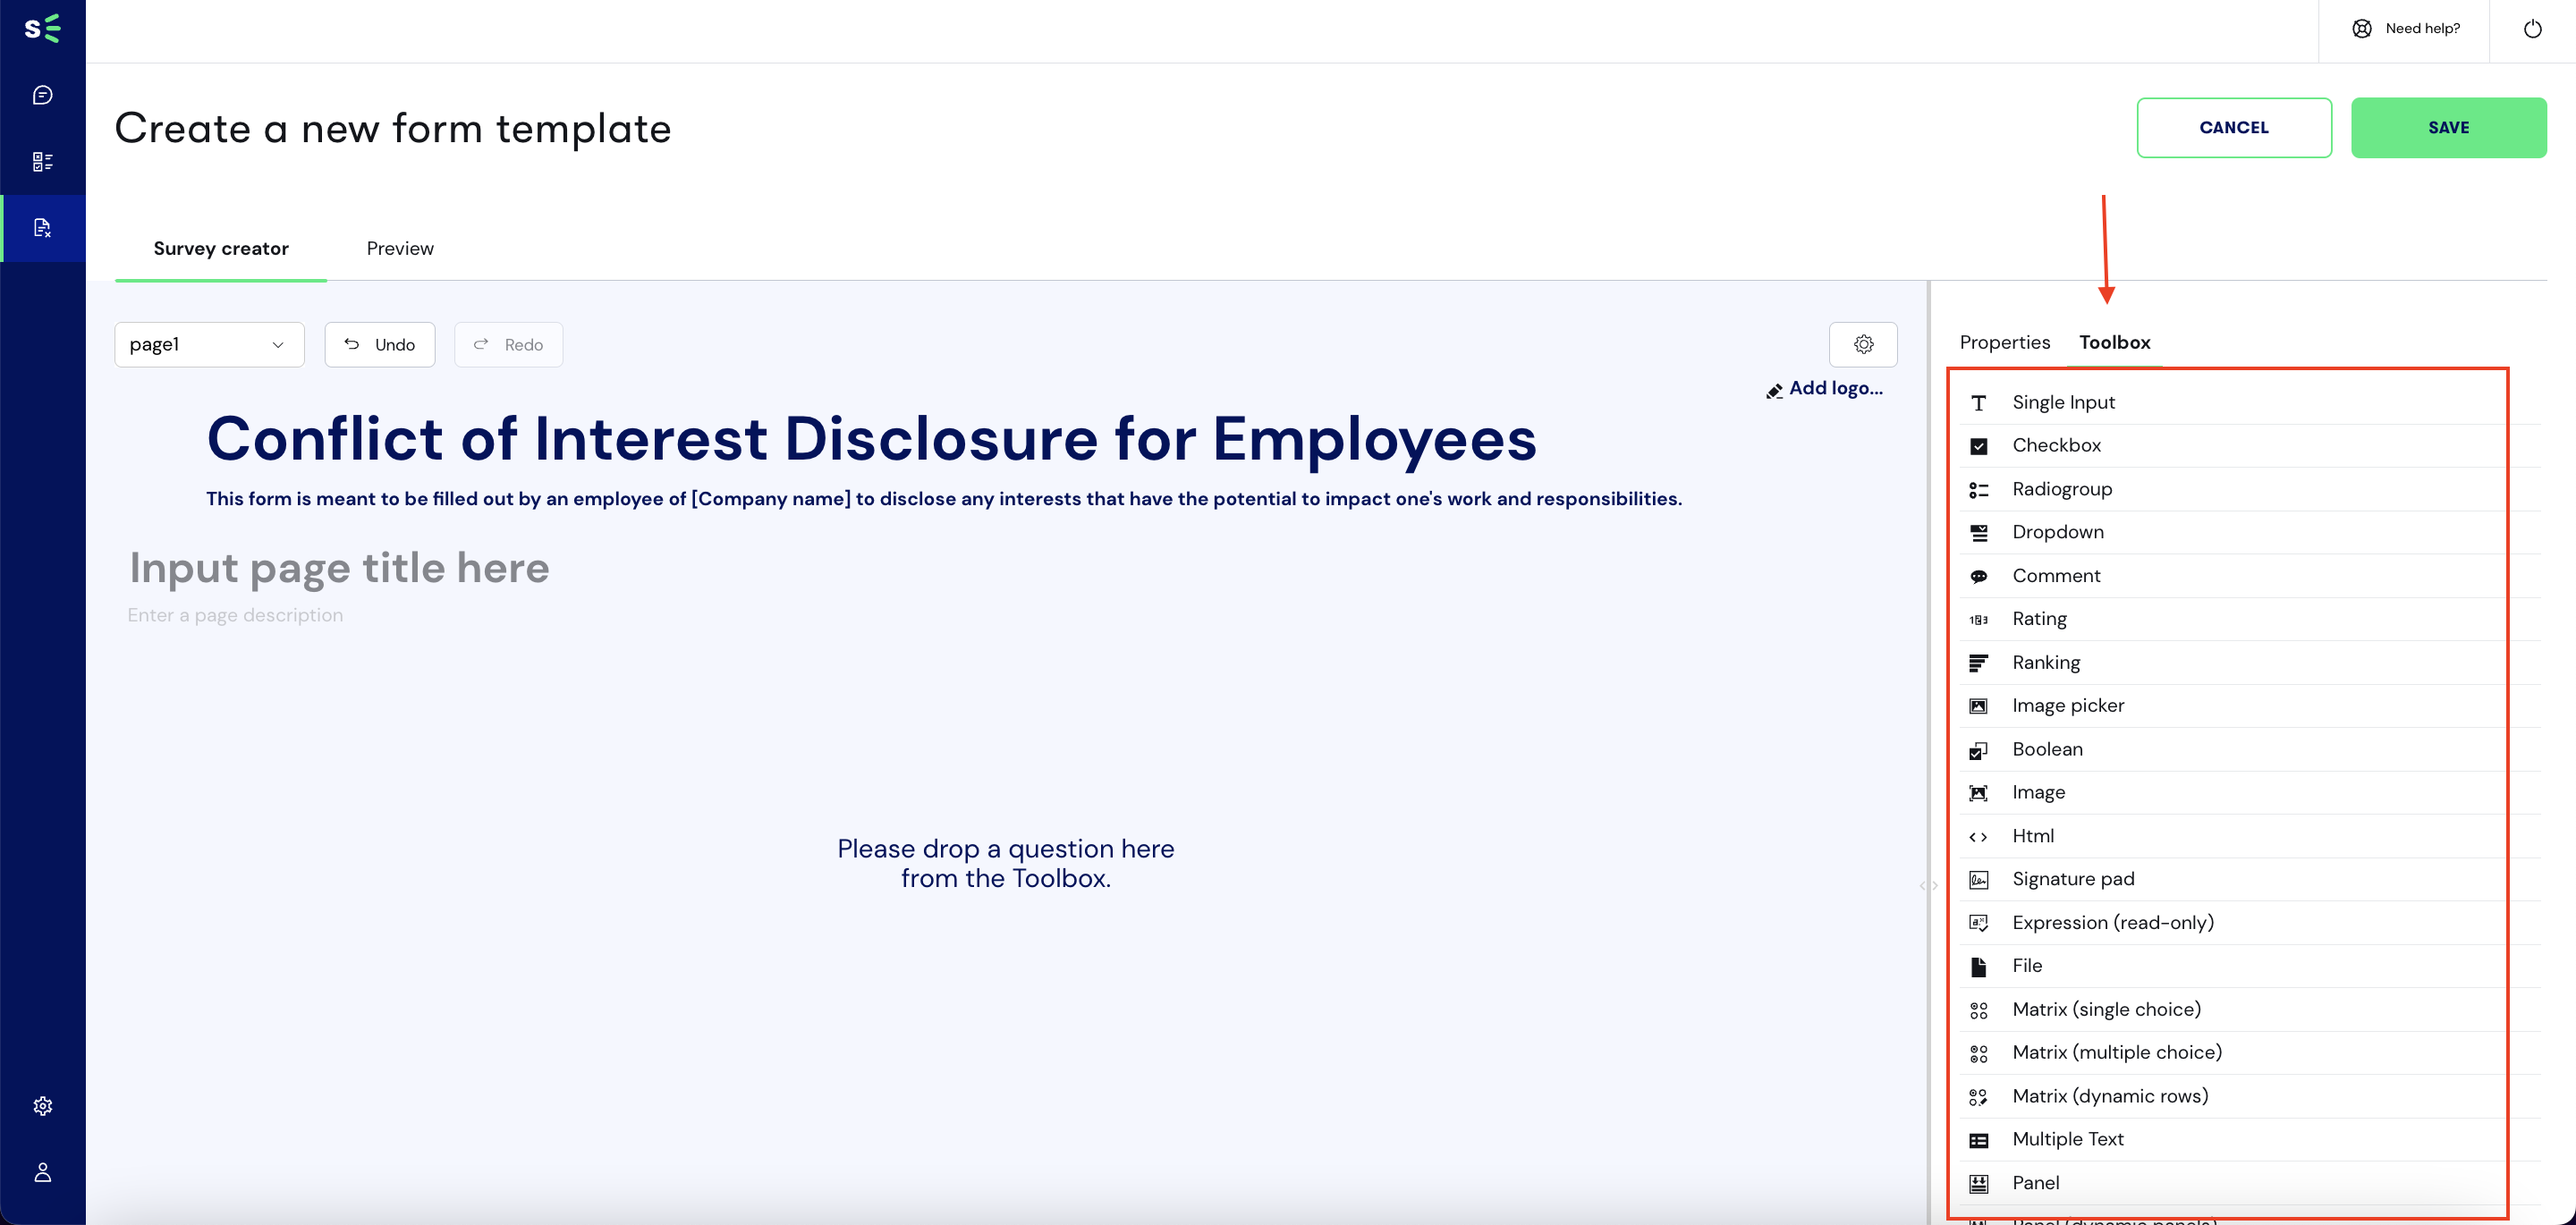
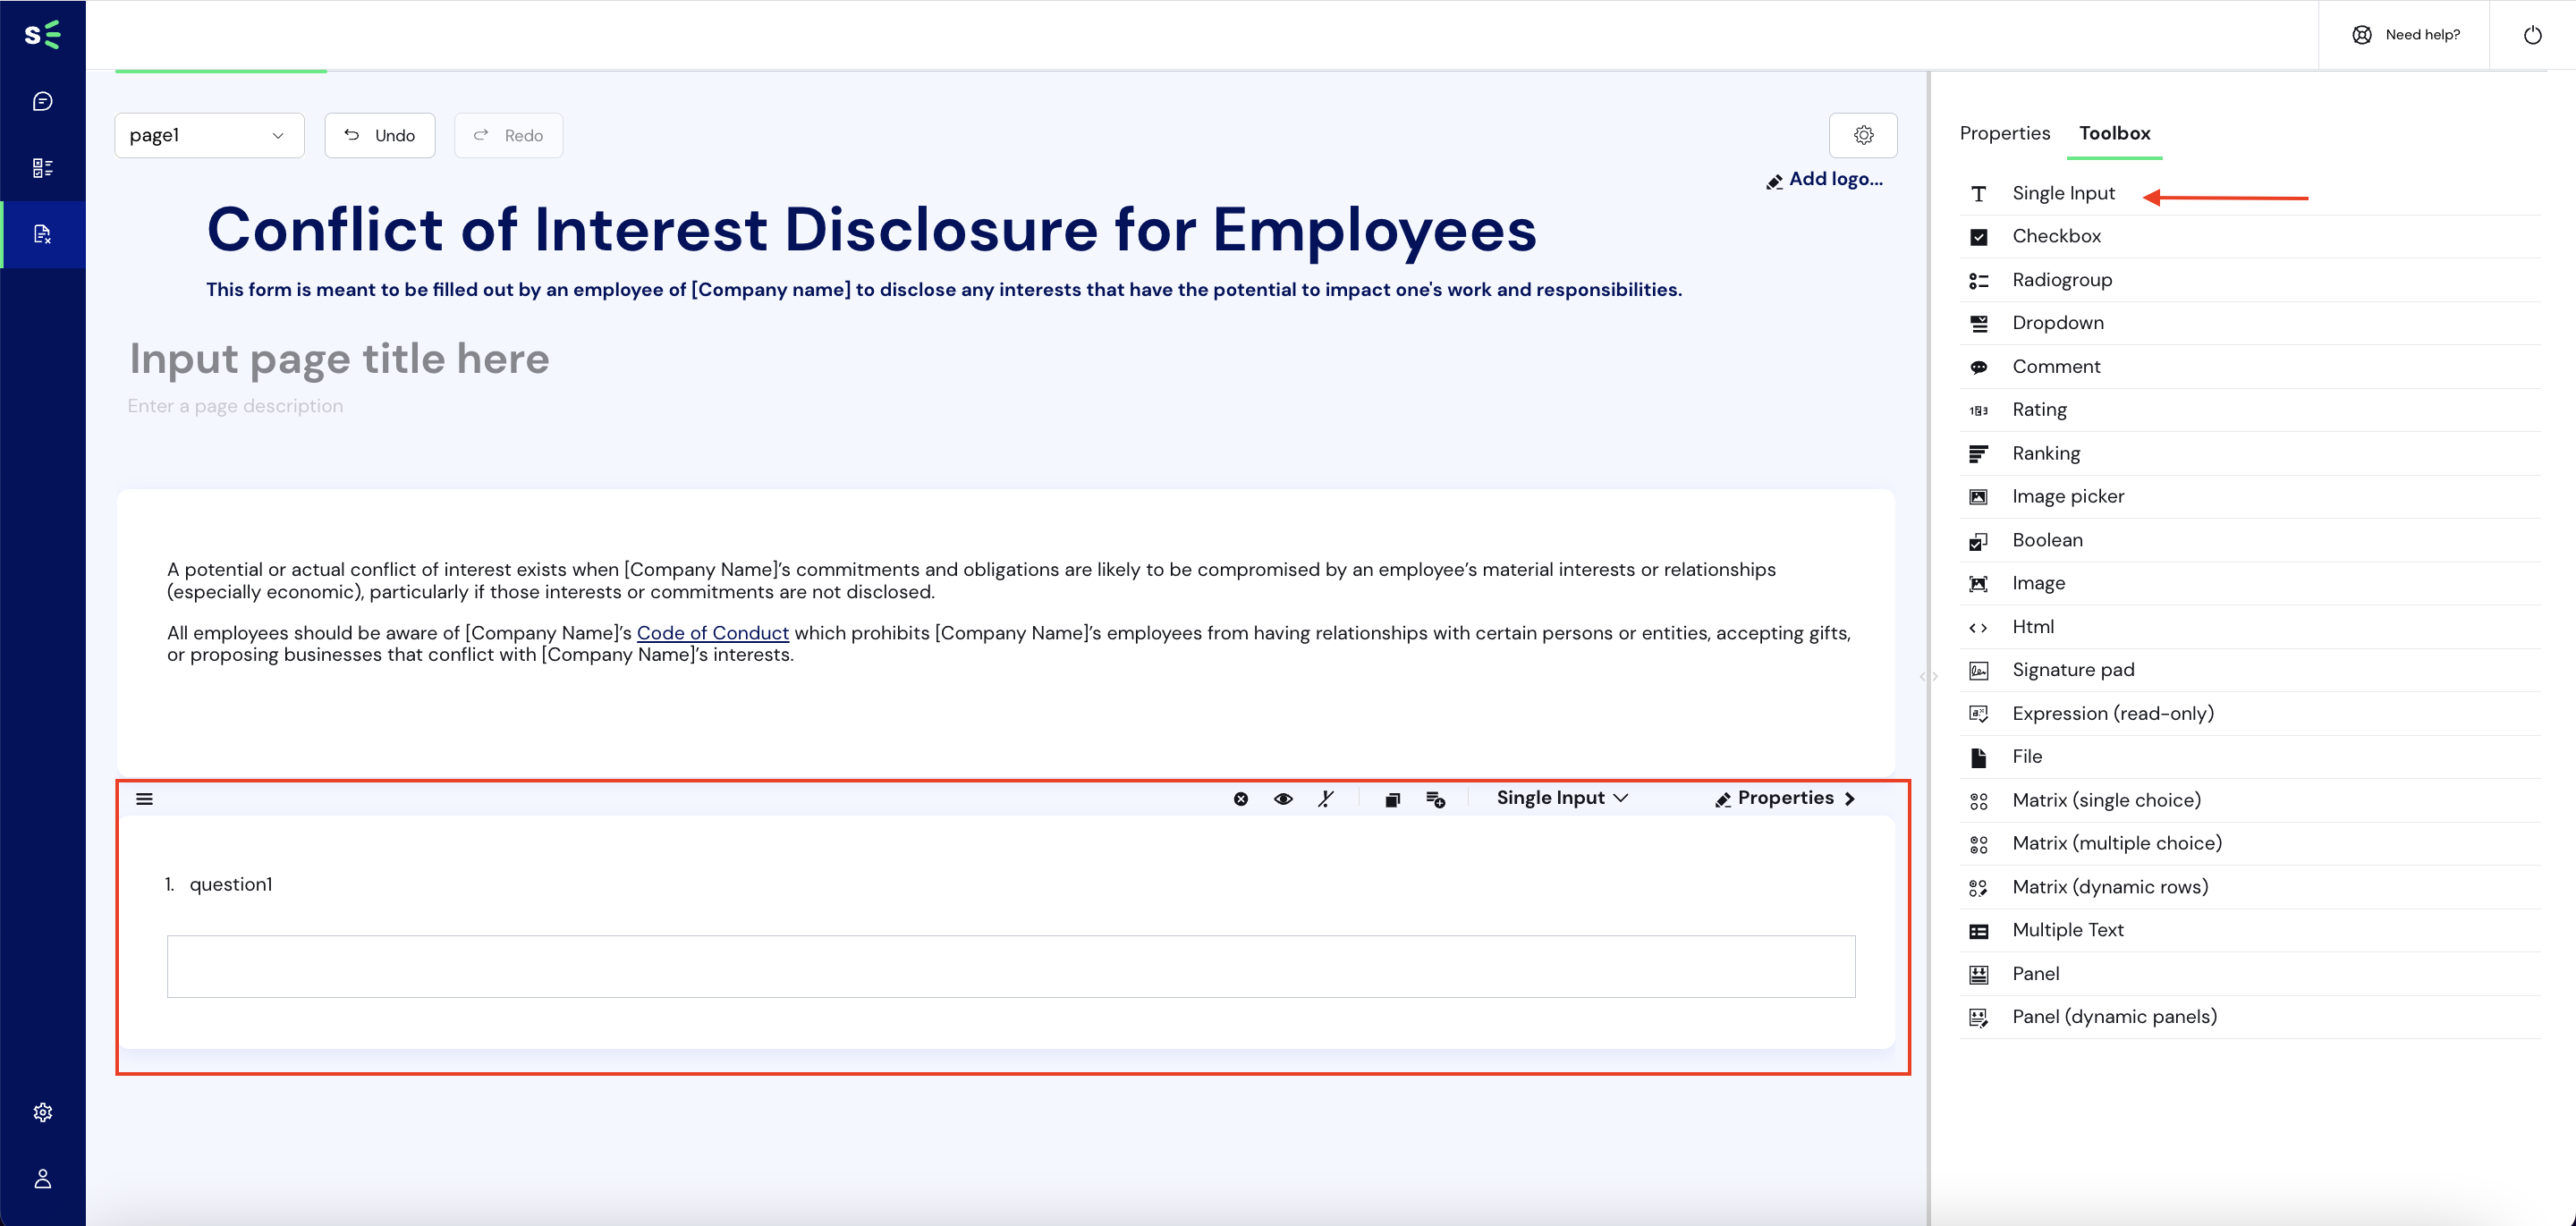
To add questions to your questionnaire, click on Toolbox. This will show a list of the type of questions you can include in your questionnaire.
We will cover the following question types in this user guide:
- html;
- single input;
- radio group;
- comment;
- signature;
as well as how to create conditional questions.
For a complete list of question types and details on how they can be used, see our How to create a survey guide found here.
To include a question in the form, you can click on the questionnaire from the Toolbox or drag it to the form canvas.
- Adding an HTML question
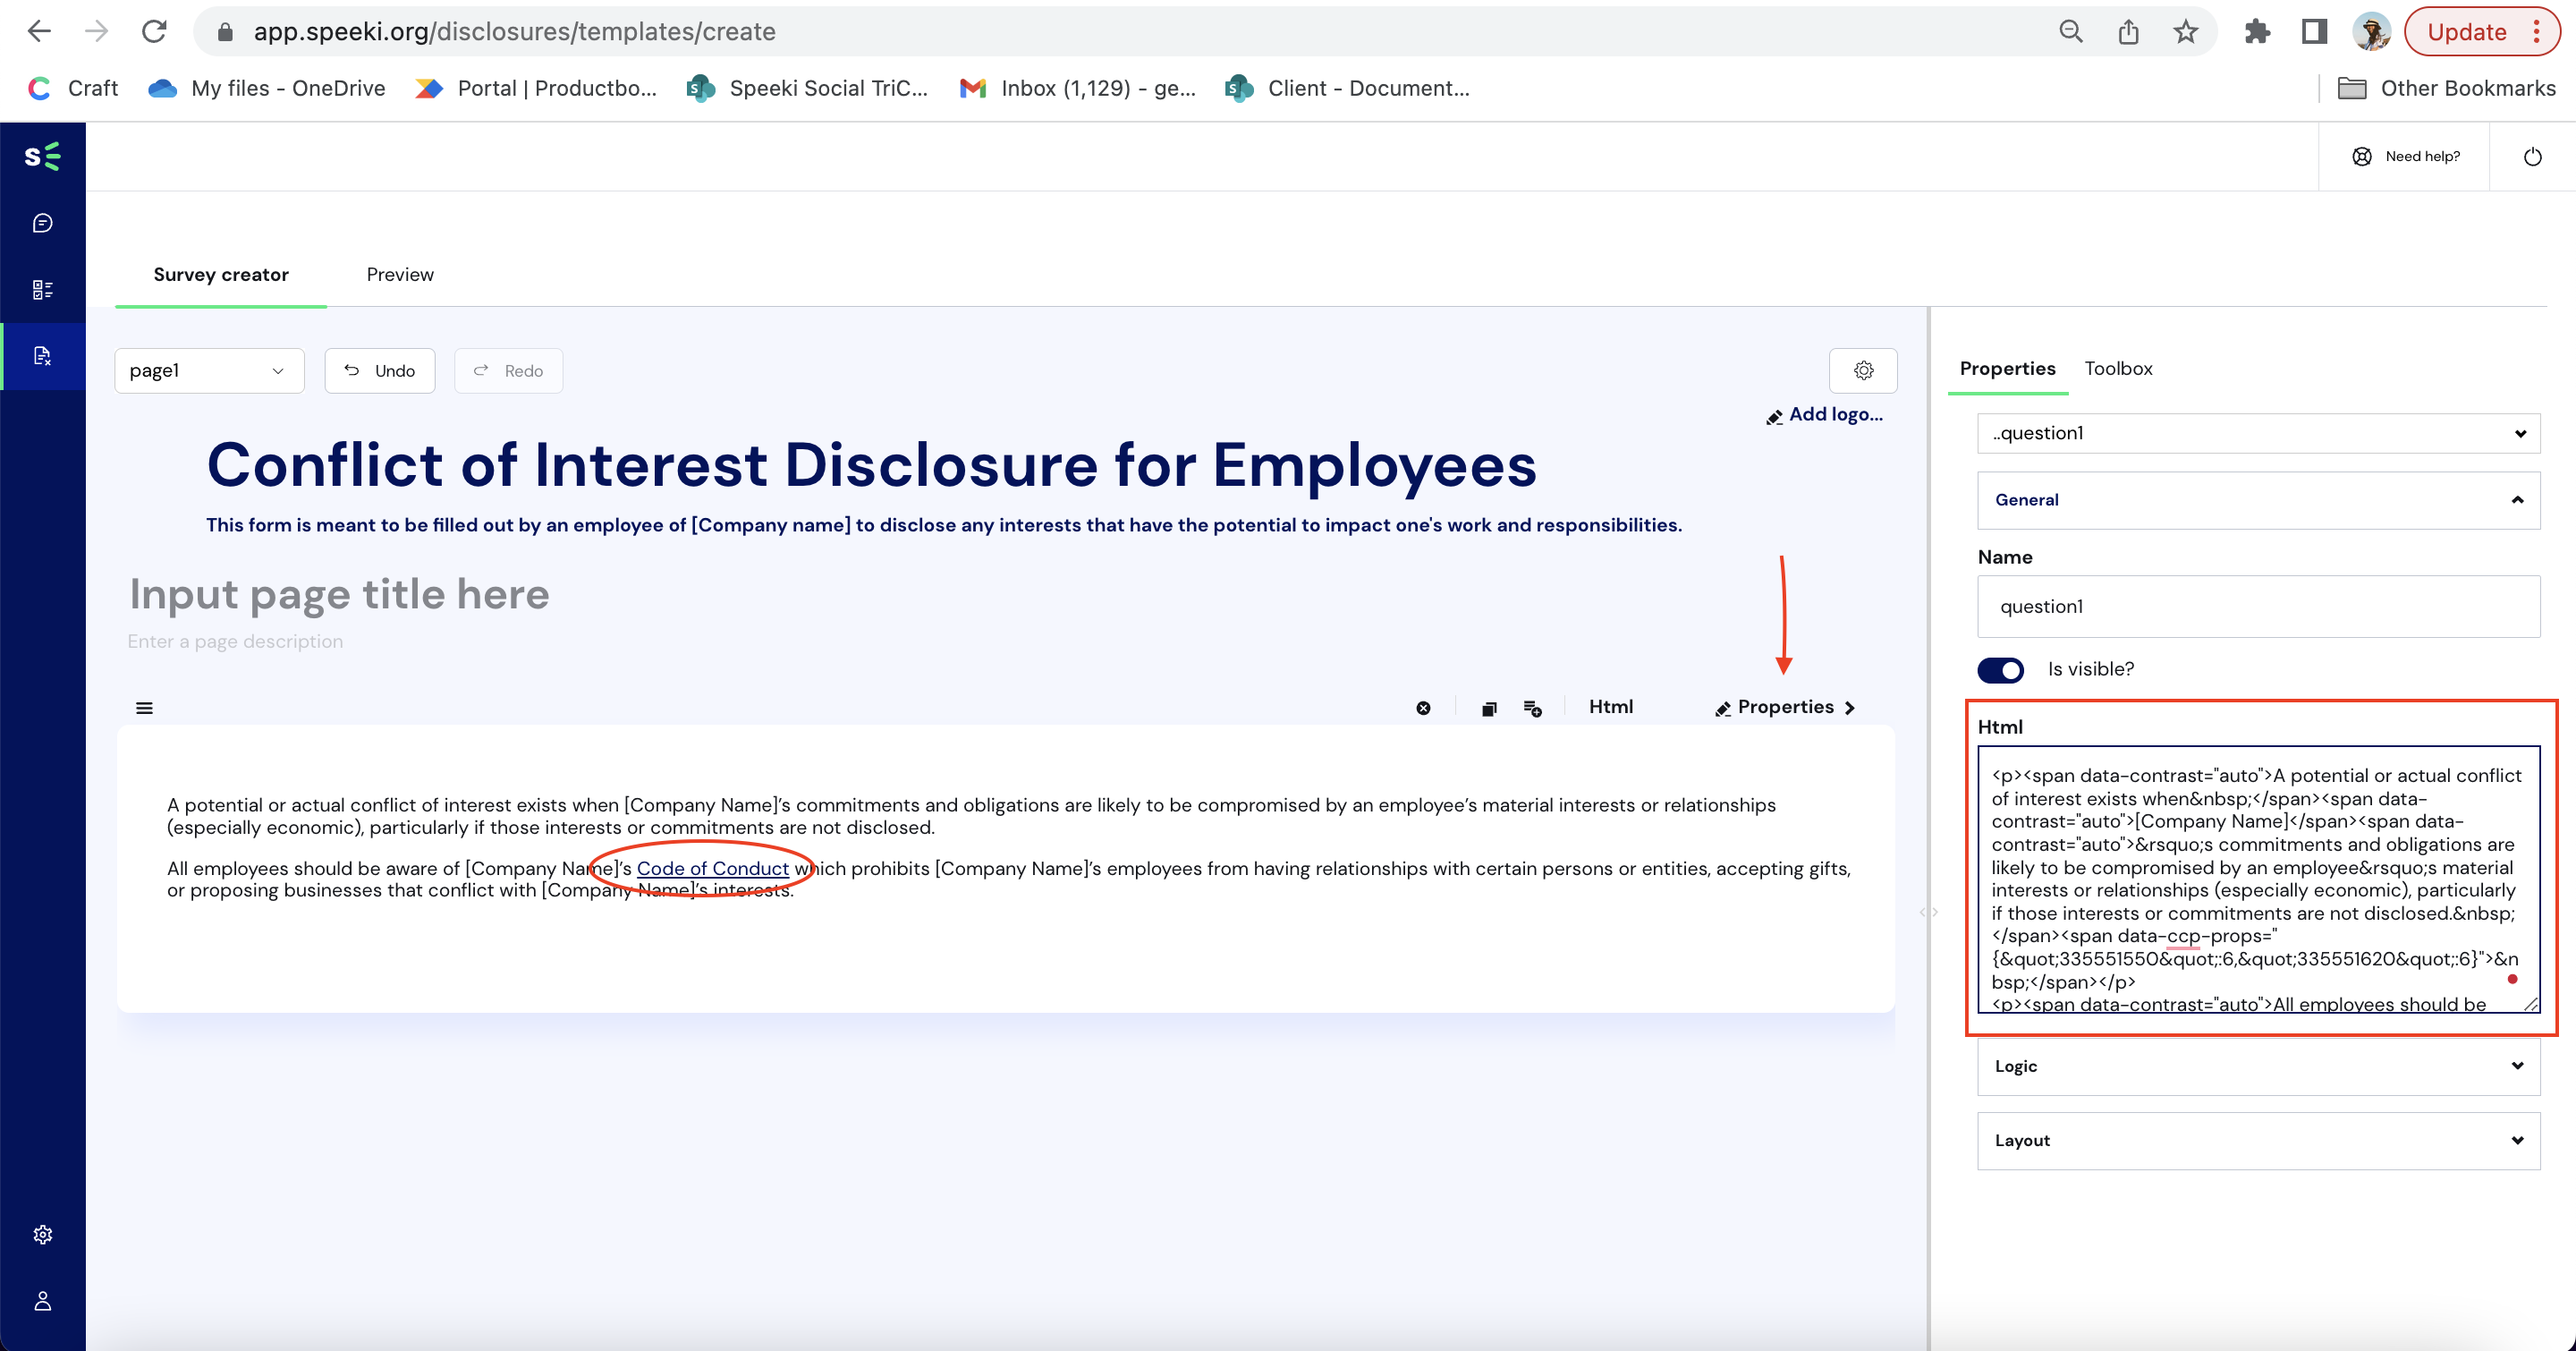
You can add an HTML question type if you want to include a link that your users can click on in your form. This is useful when you want to link out to a web page (e.g. policy page). You may also add an HTML question type when you want to format your text further (e.g. bold, italicise, etc.). When you add the HTML question type from the toolbox, you will notice that there is no field to directly edit on. To add a value, click on Properties and input value in the HTML field.
- Adding a single input question
You can add a Single Input question type for questions that anticipate single input responses such as name, email, date, or other one-liner text.
Note that for Declare & Disclose, personal information of a user such as name and contact number are asked on their first use of the service. Contact details are collected and shown in the form submission details.
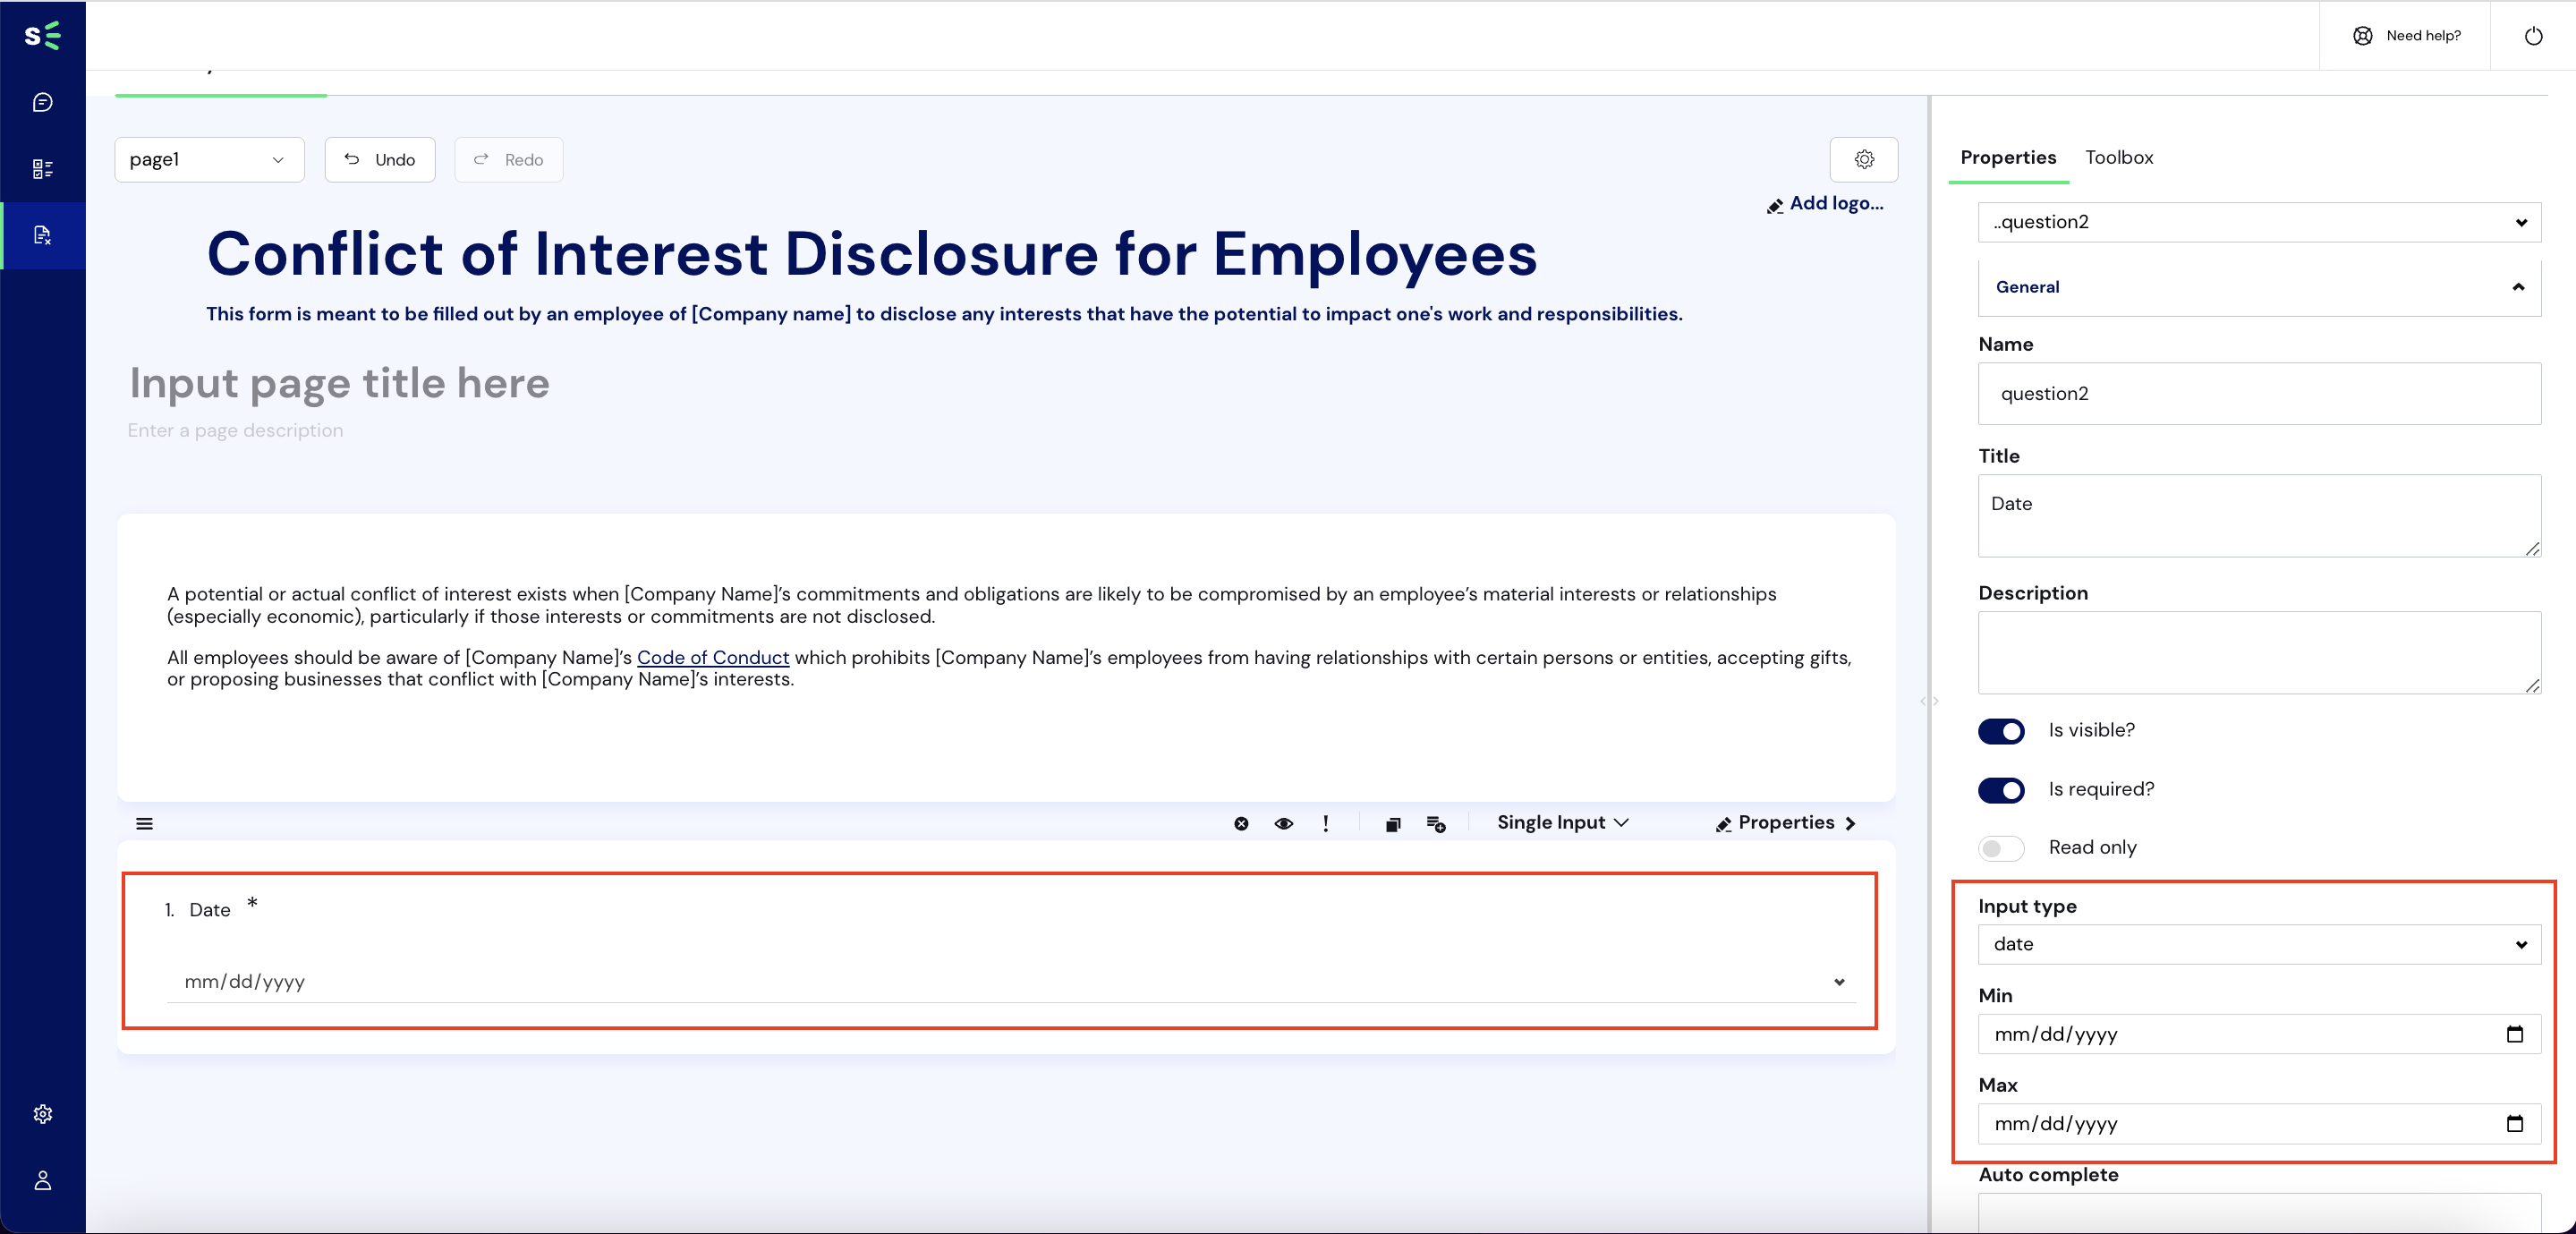
You can further configure a Single Input question type by clicking on Properties from the question. For example, you can define if the question you added is a required question. If so, you can toggle the option to make the question required. This will require a form user to answer the question before submitting the declaration.

You may also change the input type of your question or your expected response from a participant. You can, for example, change the input type to a date input. Doing so will present a format for the input of a date.
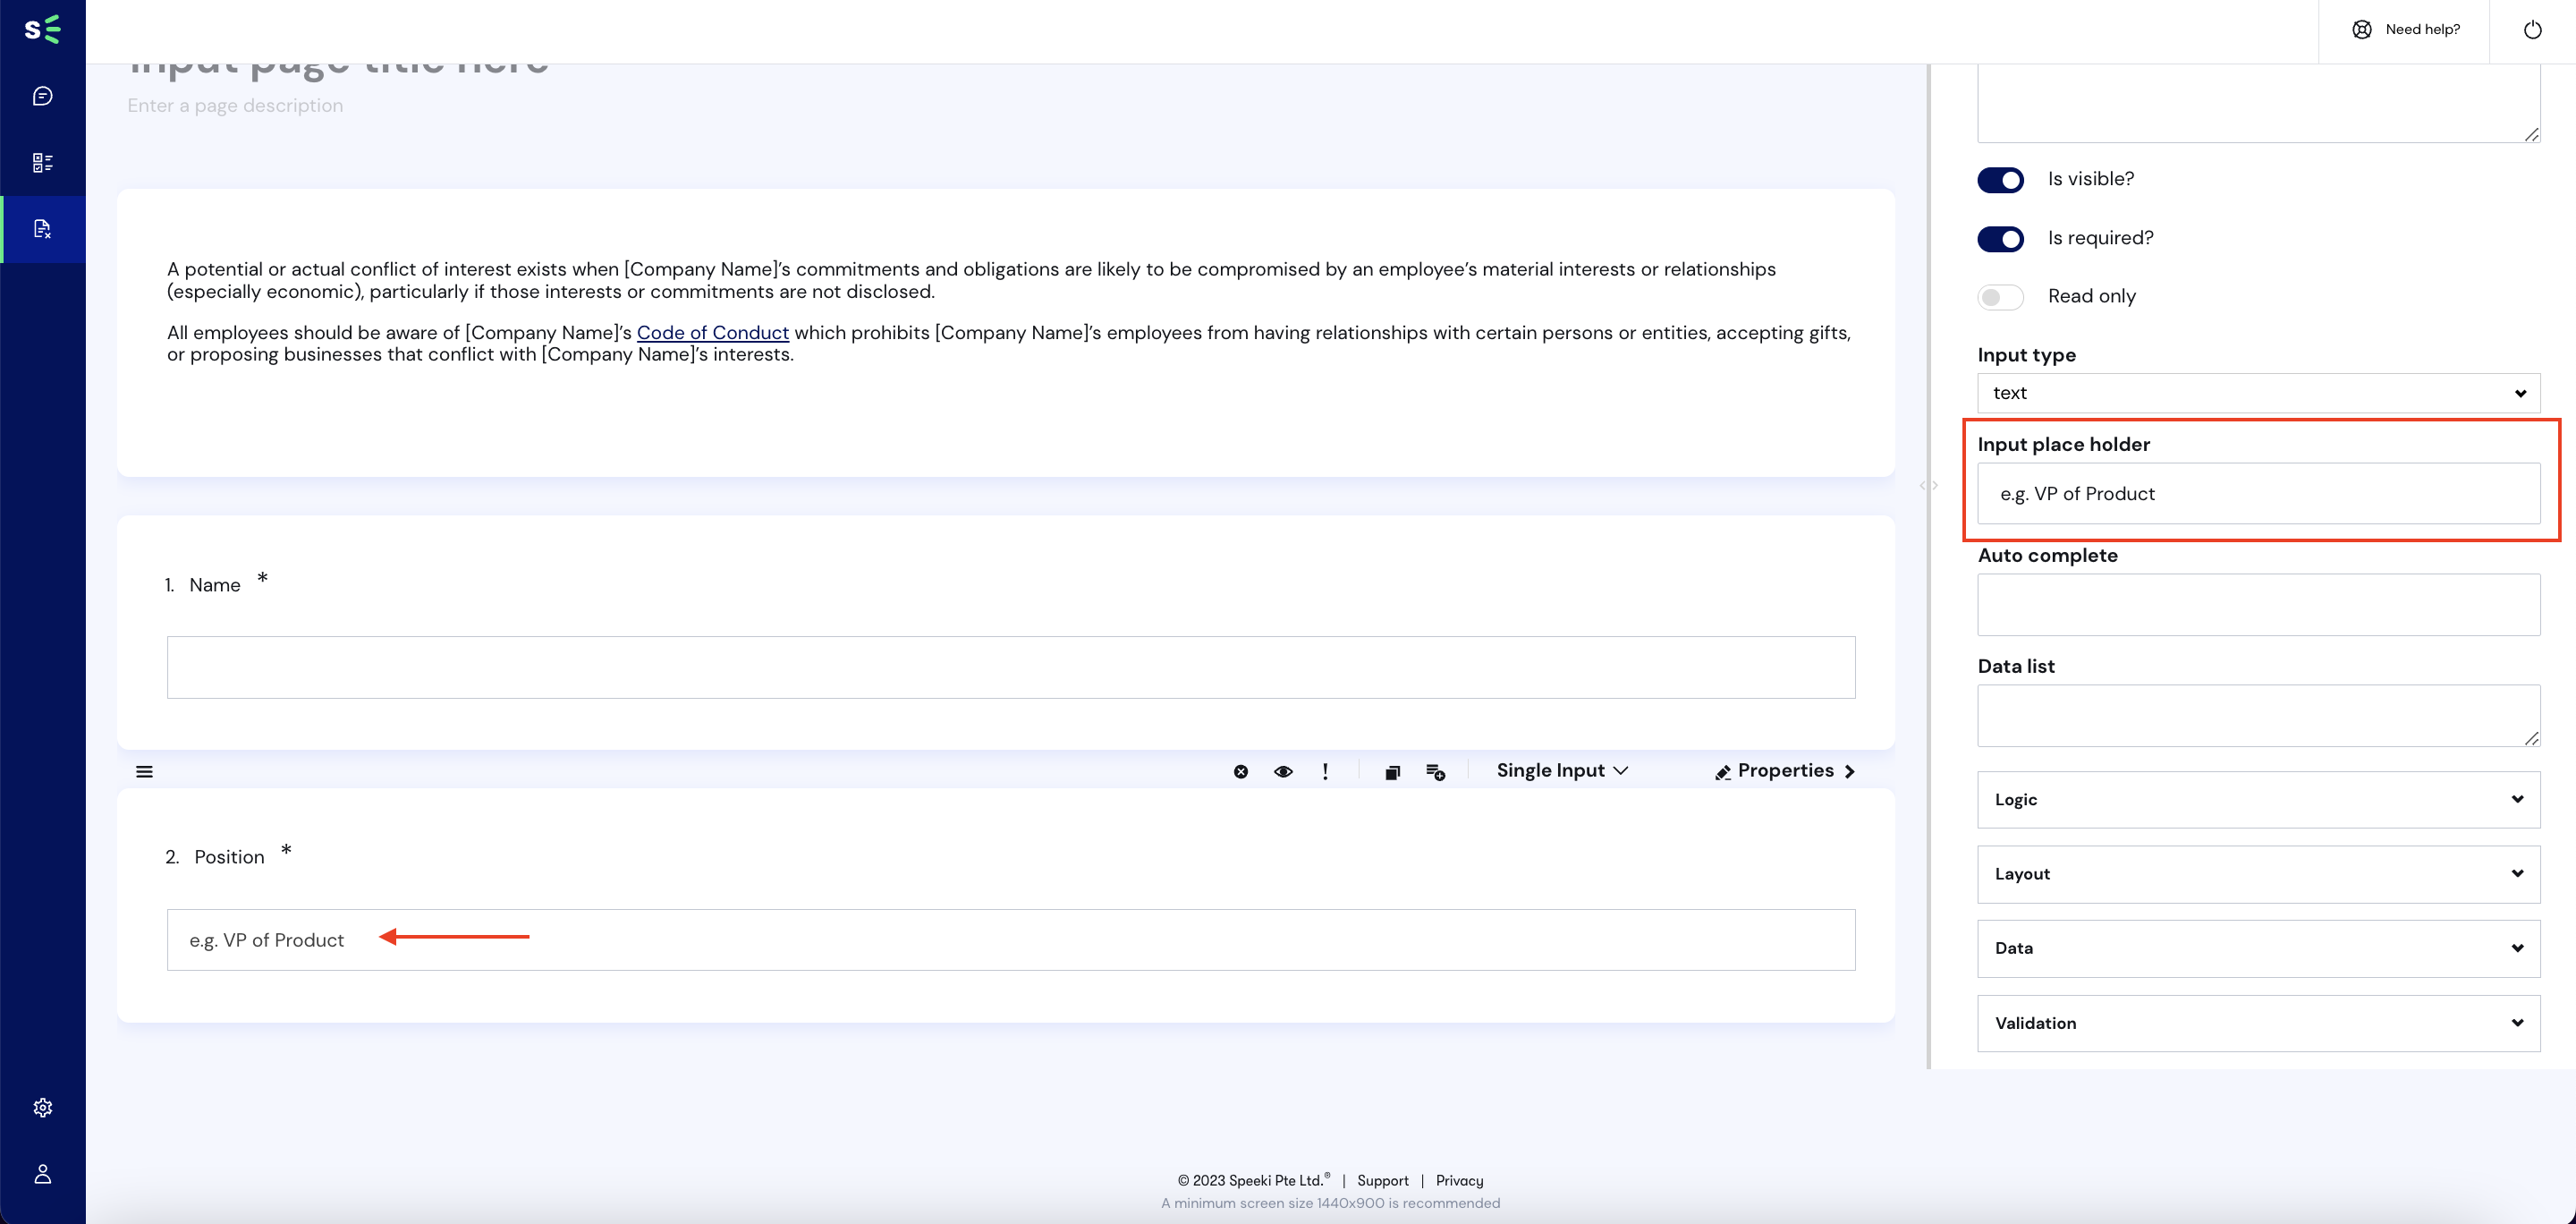
You can also set an input placeholder for your question to guide your users.
- Adding a radio group question
You can add a Radio Group question type if you are expecting the user to choose only one choice from a list of few choices.
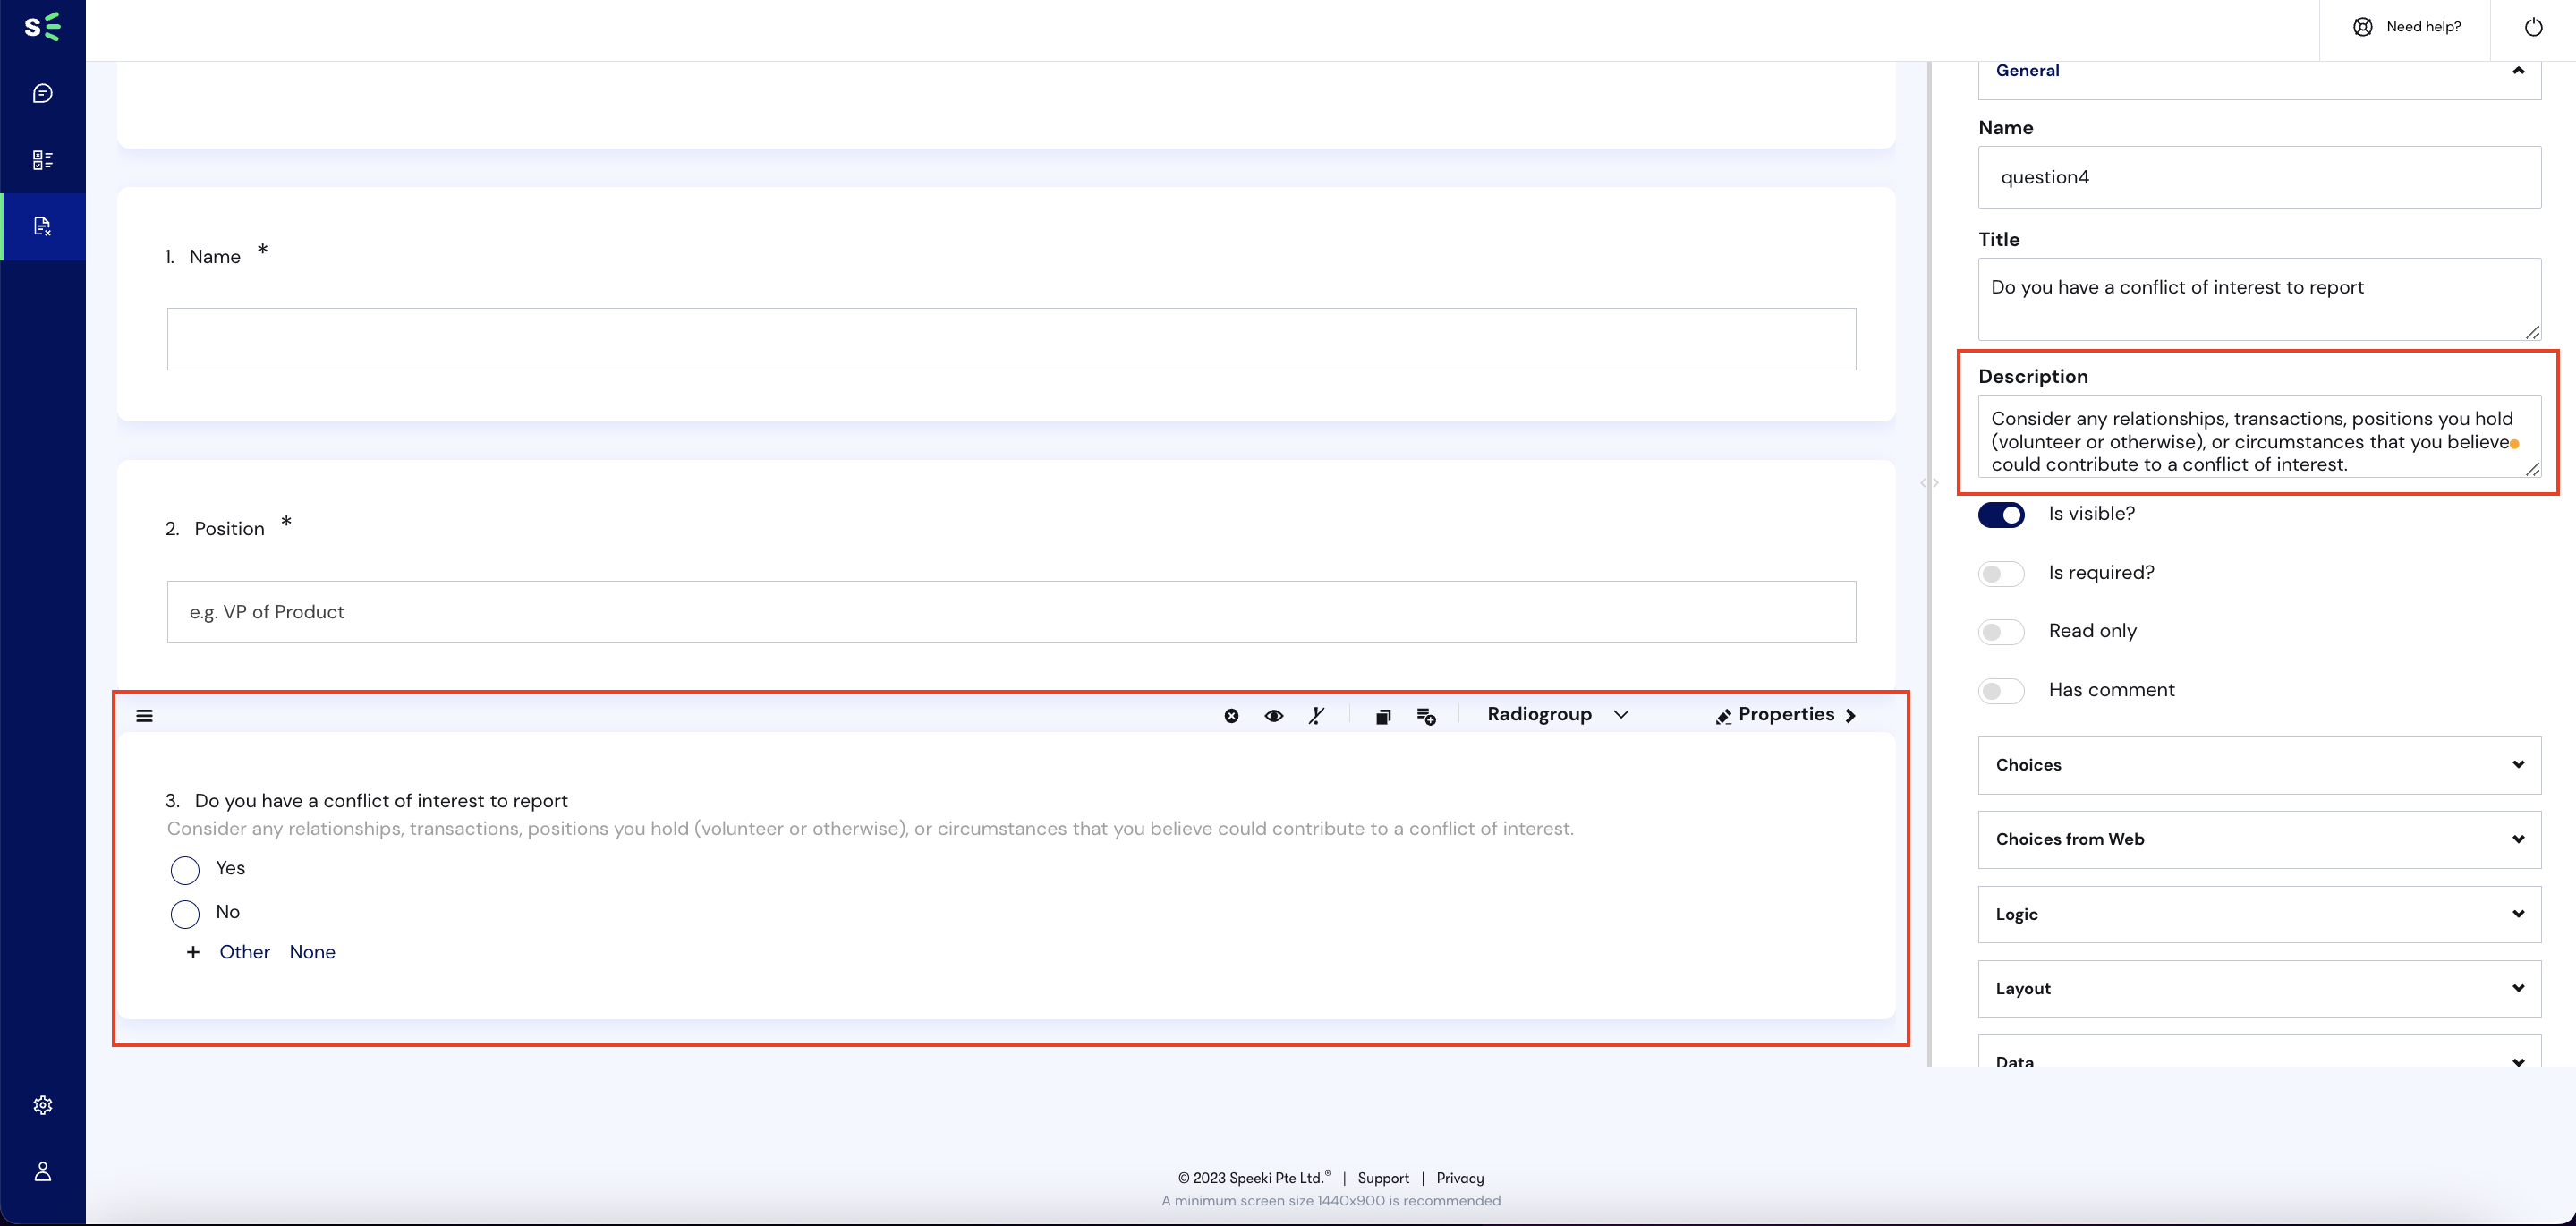
- Adding a comment question
You can add a Comment question type for questions that anticipate single input responses that may be longer than a single line text.
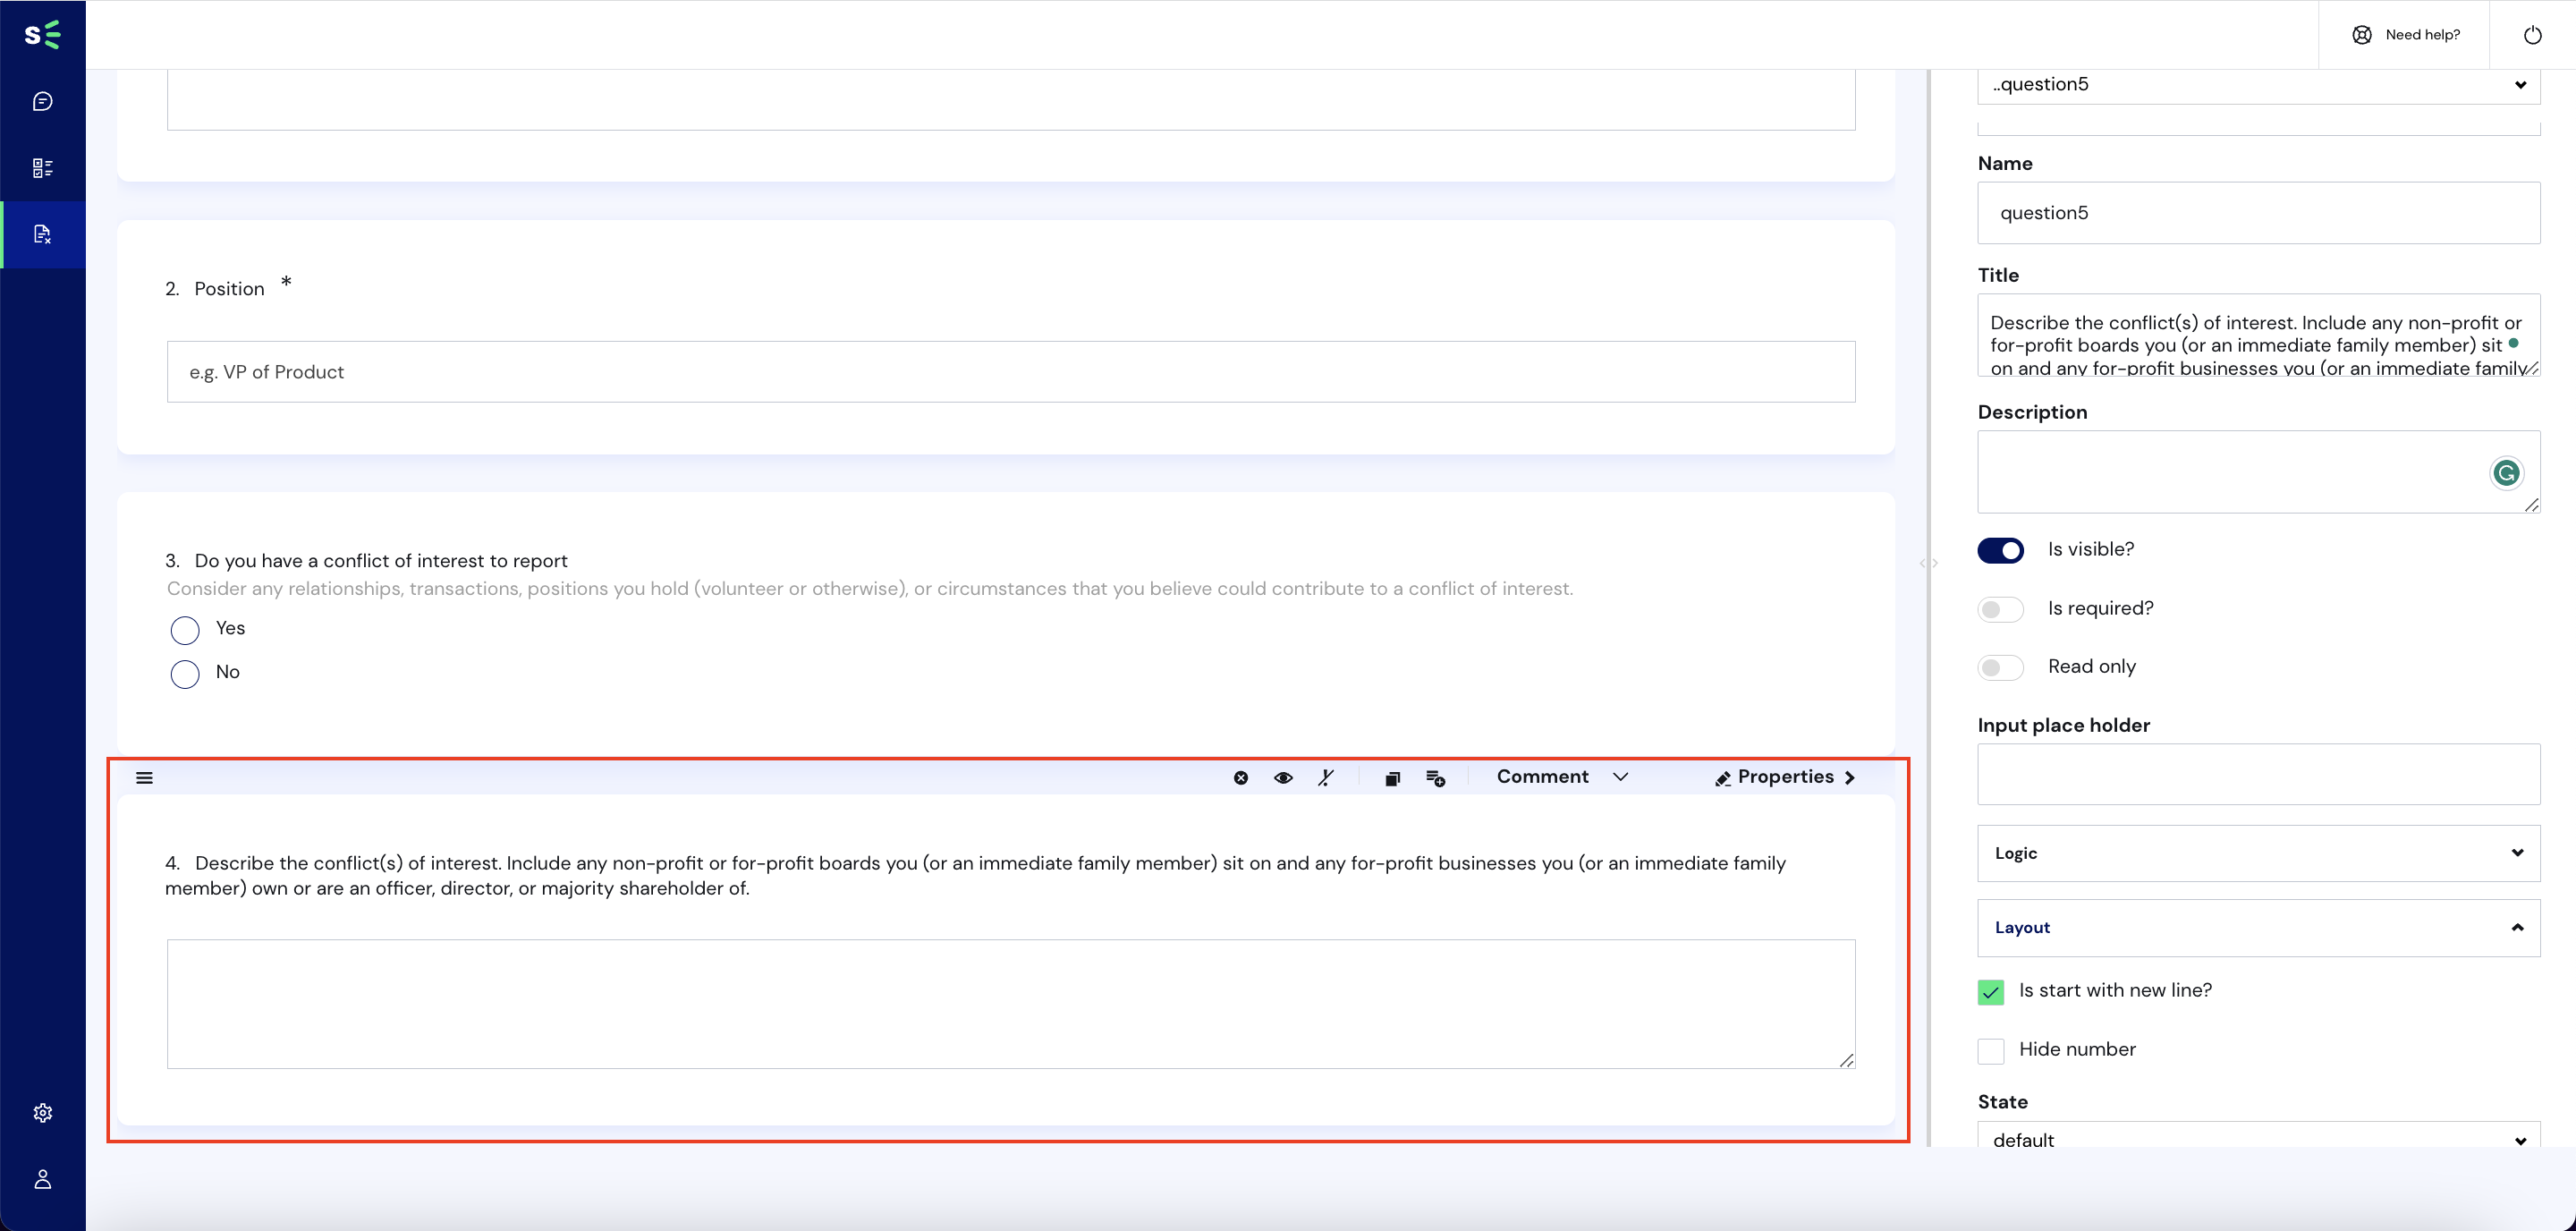
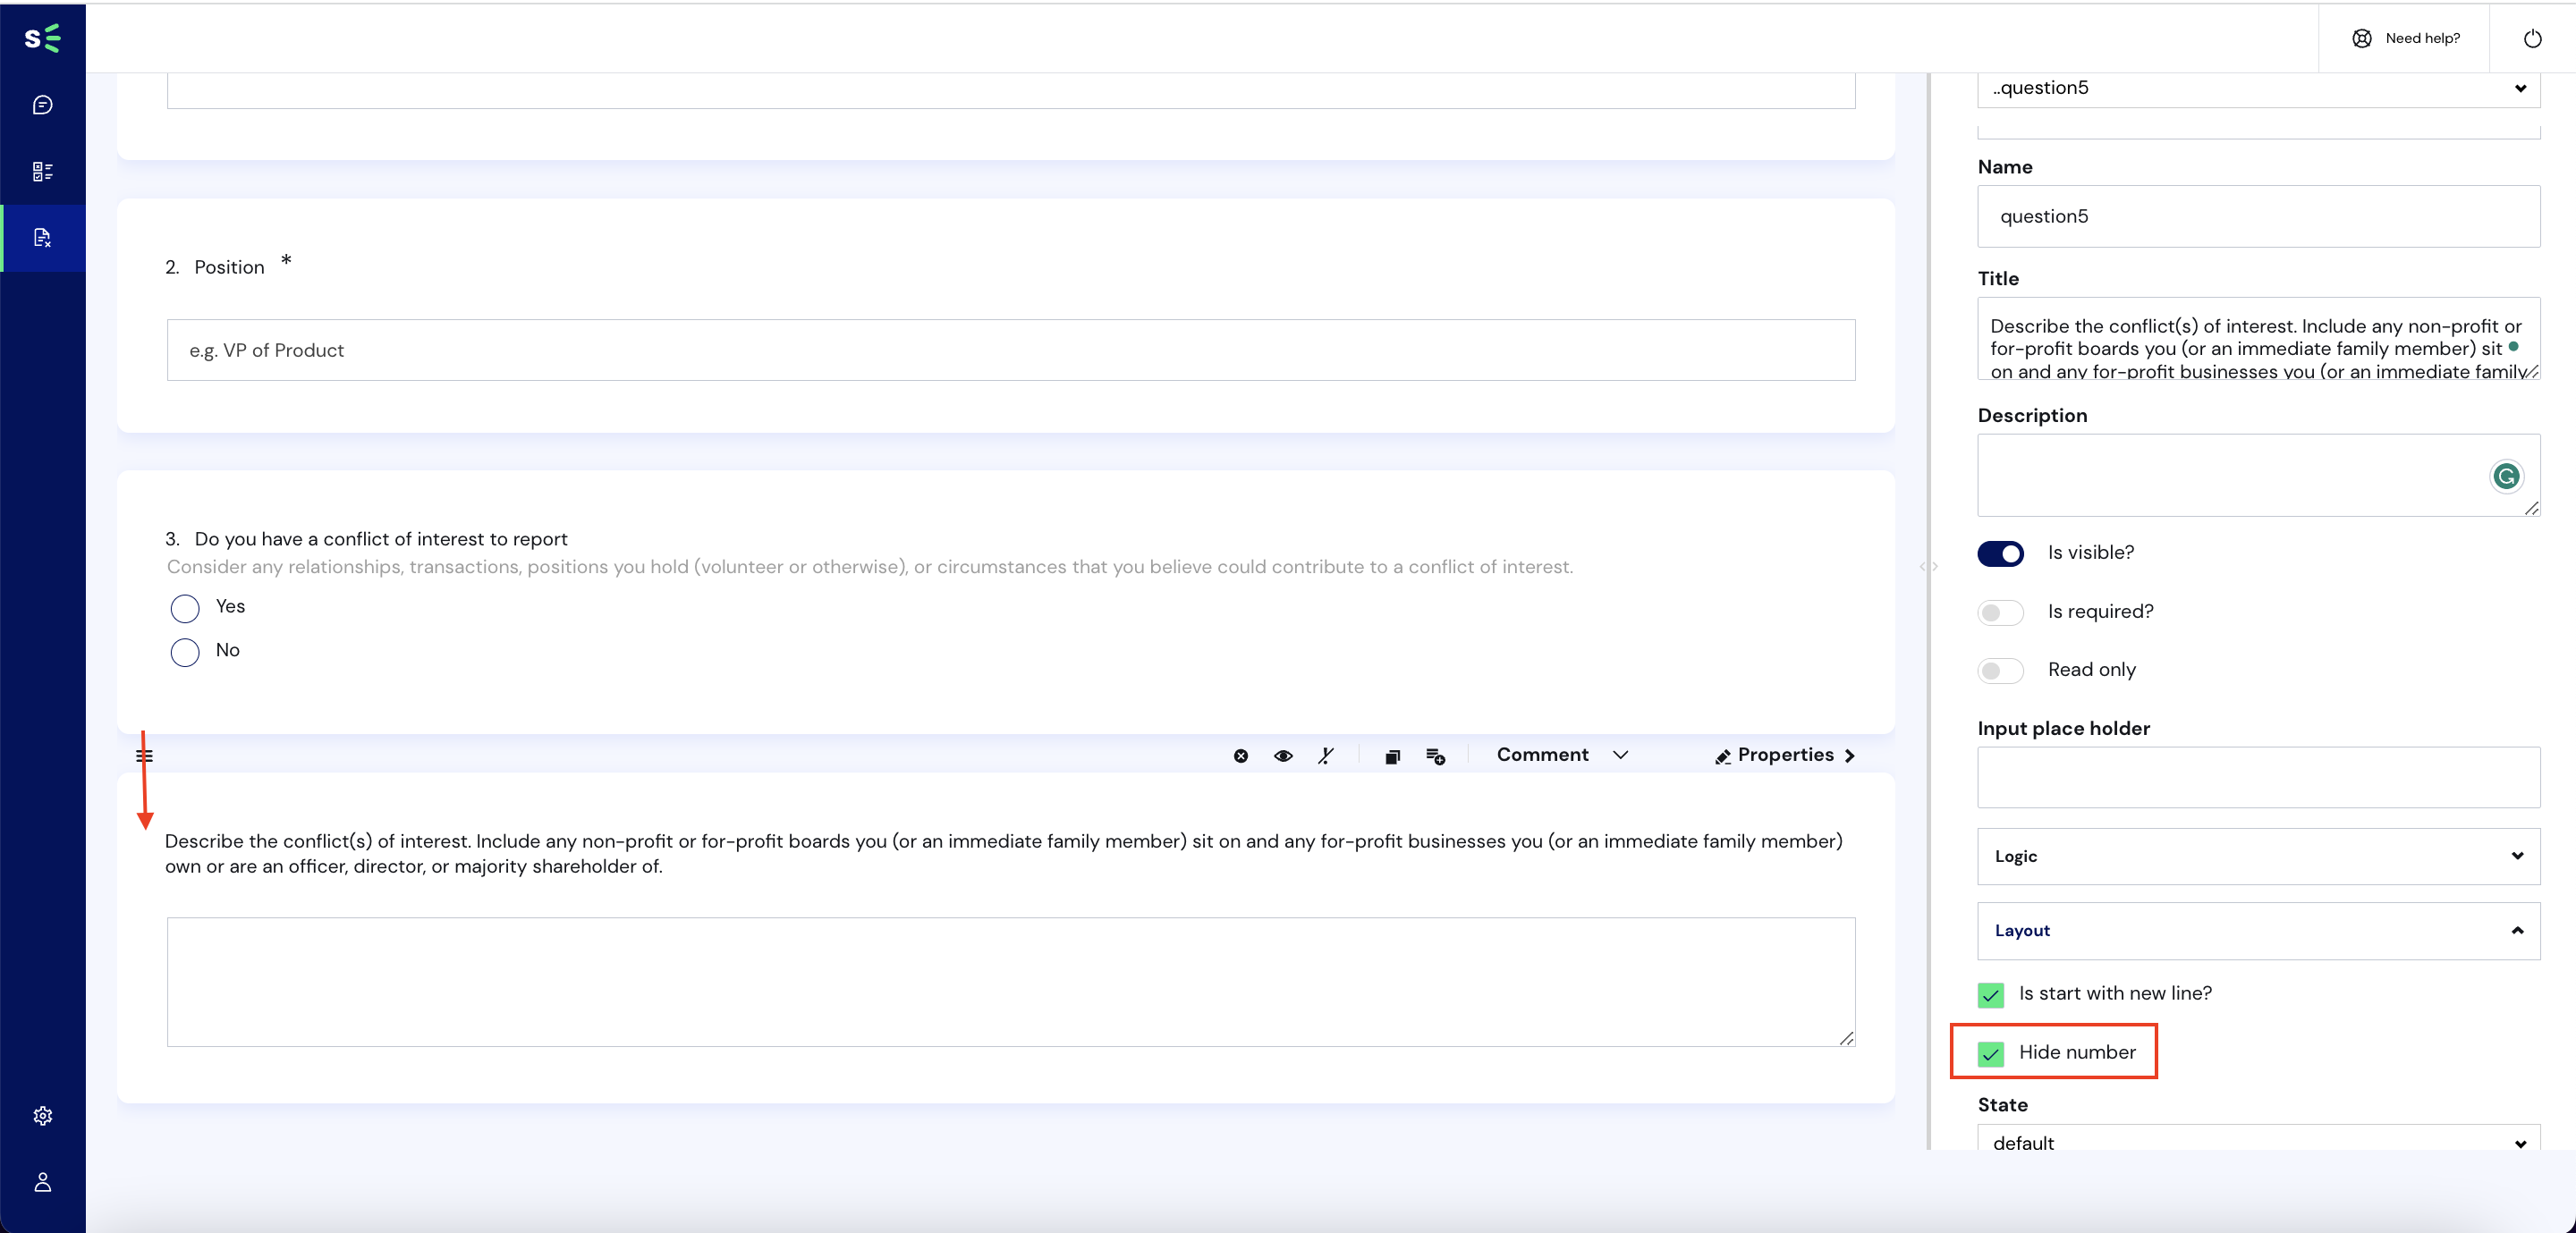
You can also click on Properties to configure other properties of a Comment question type. If you are using the Comment question type as an extension of another question given a condition (Note: See how to set conditions for a question), you can choose to remove the question number in the question's layout as seen below.
- Adding a signature question
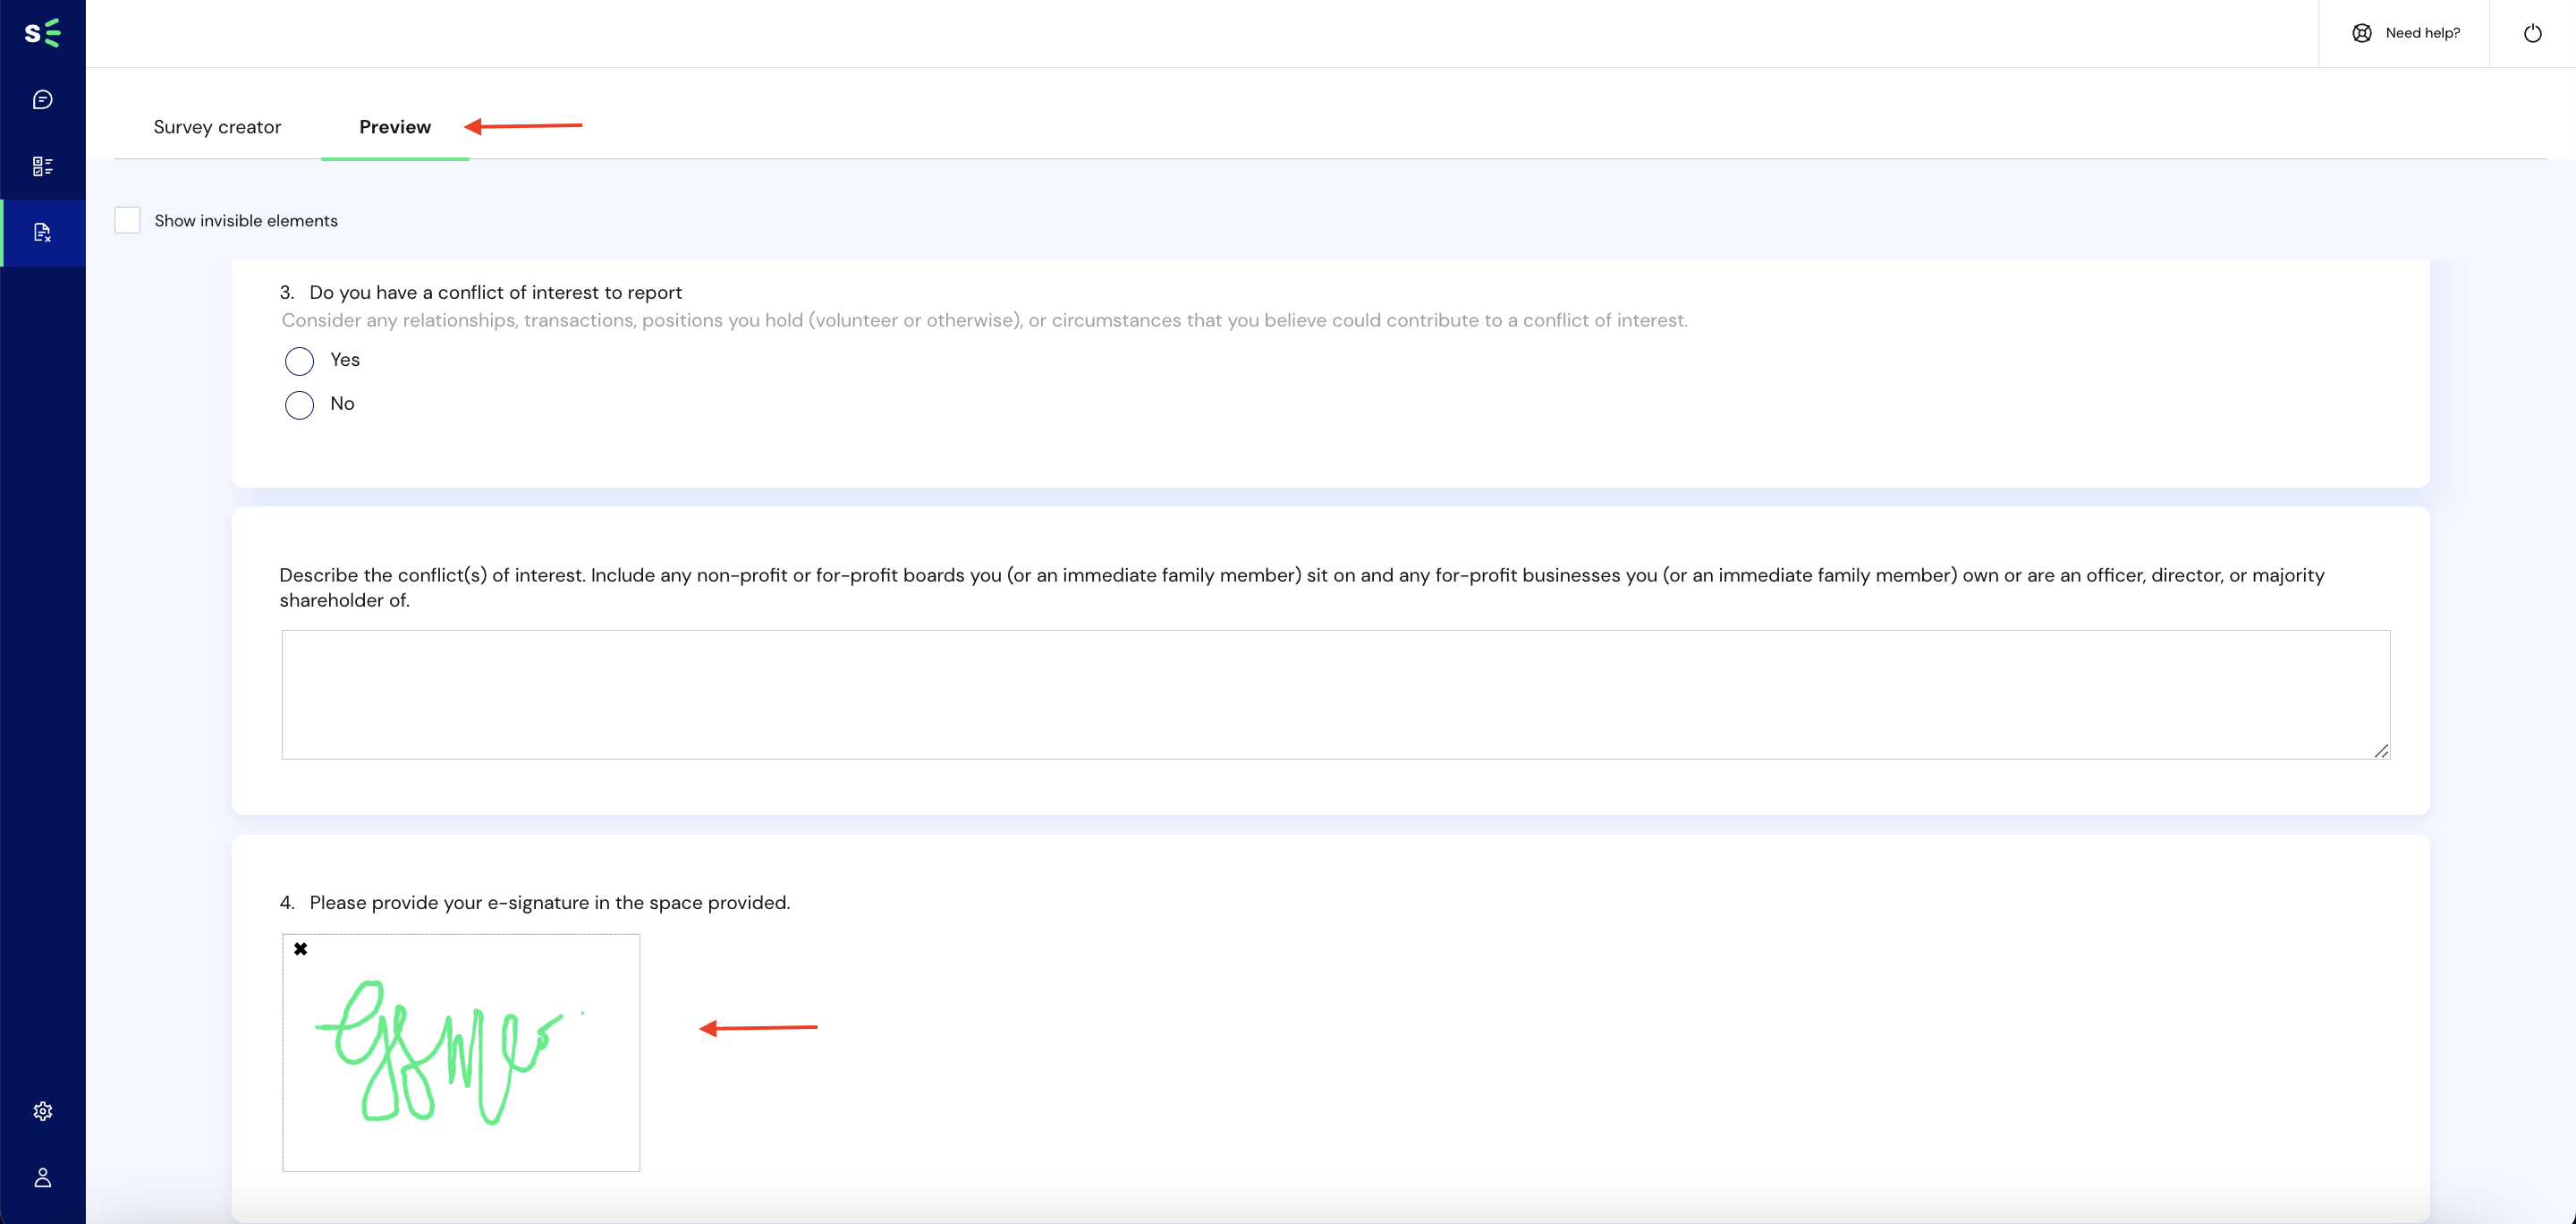
Signatures may be necessary in gathering declarations or disclosuresYou can use the Signature Pad question type for getting e-signatures of users.

Viewing this question in Preview mode will allow you to test digitally inputting a signature as seen below.
- Creating conditional questions
You may want to create a question that can only be seen or required given a user's response to another question. This is what we call a conditional question. For example, the Comment question above is a question that would only be visible if a user's response to the Radio group question is a "Yes". You can set this up by configuring Logic under Properties of the dependent question.
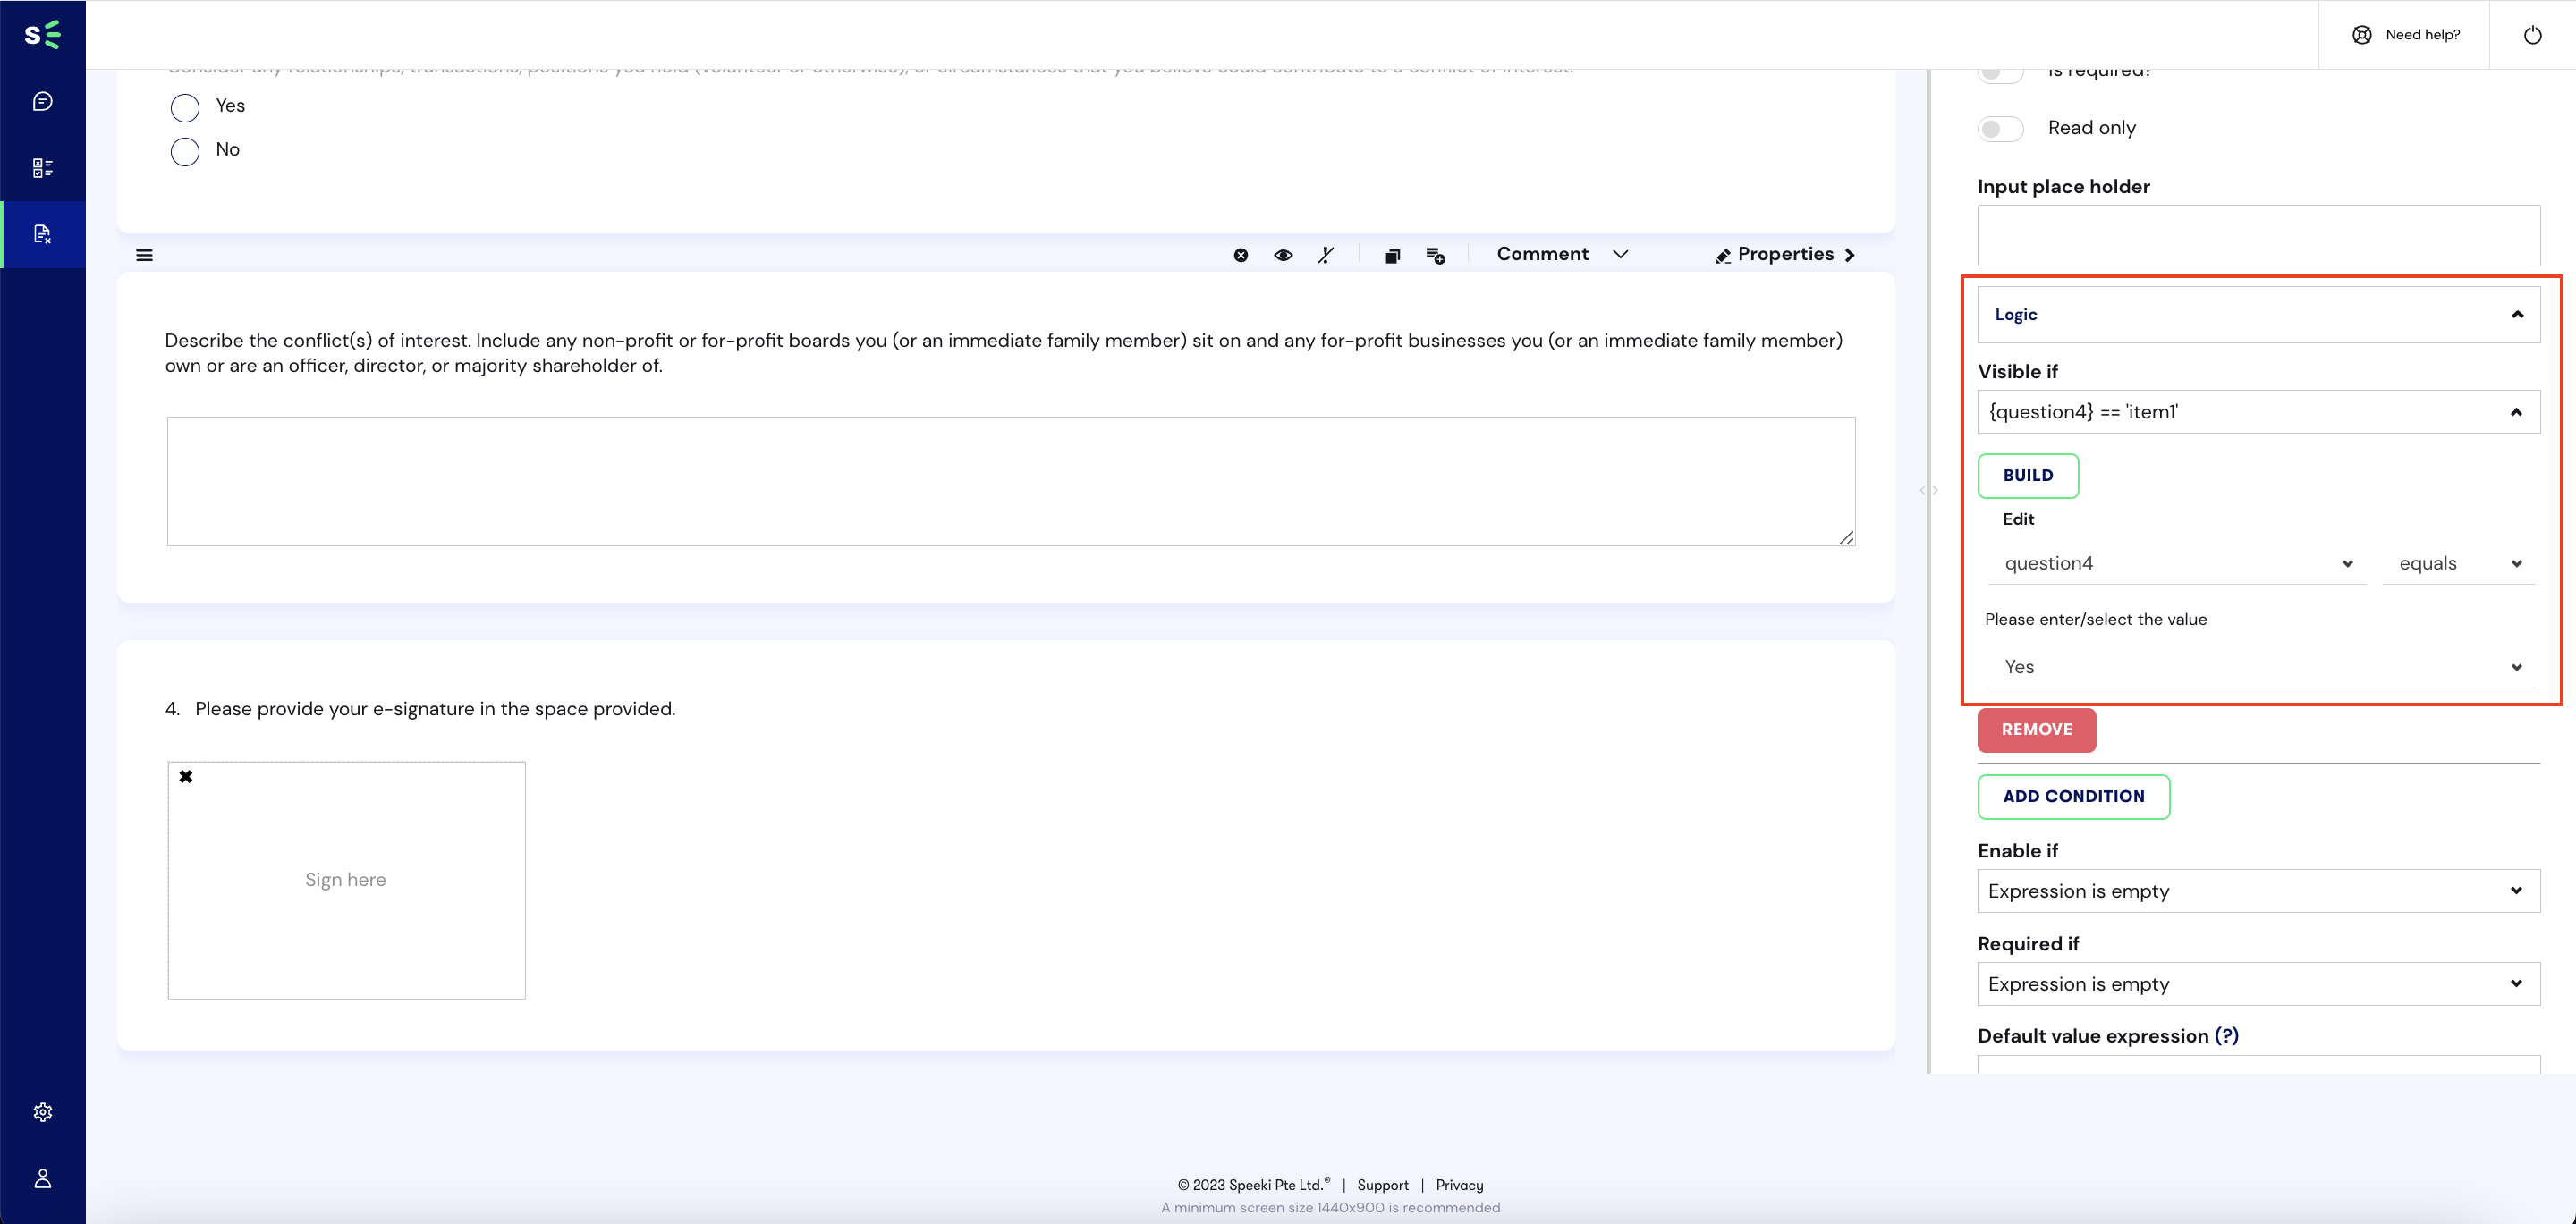
Saving your form
Click on Save to save your form as a template.
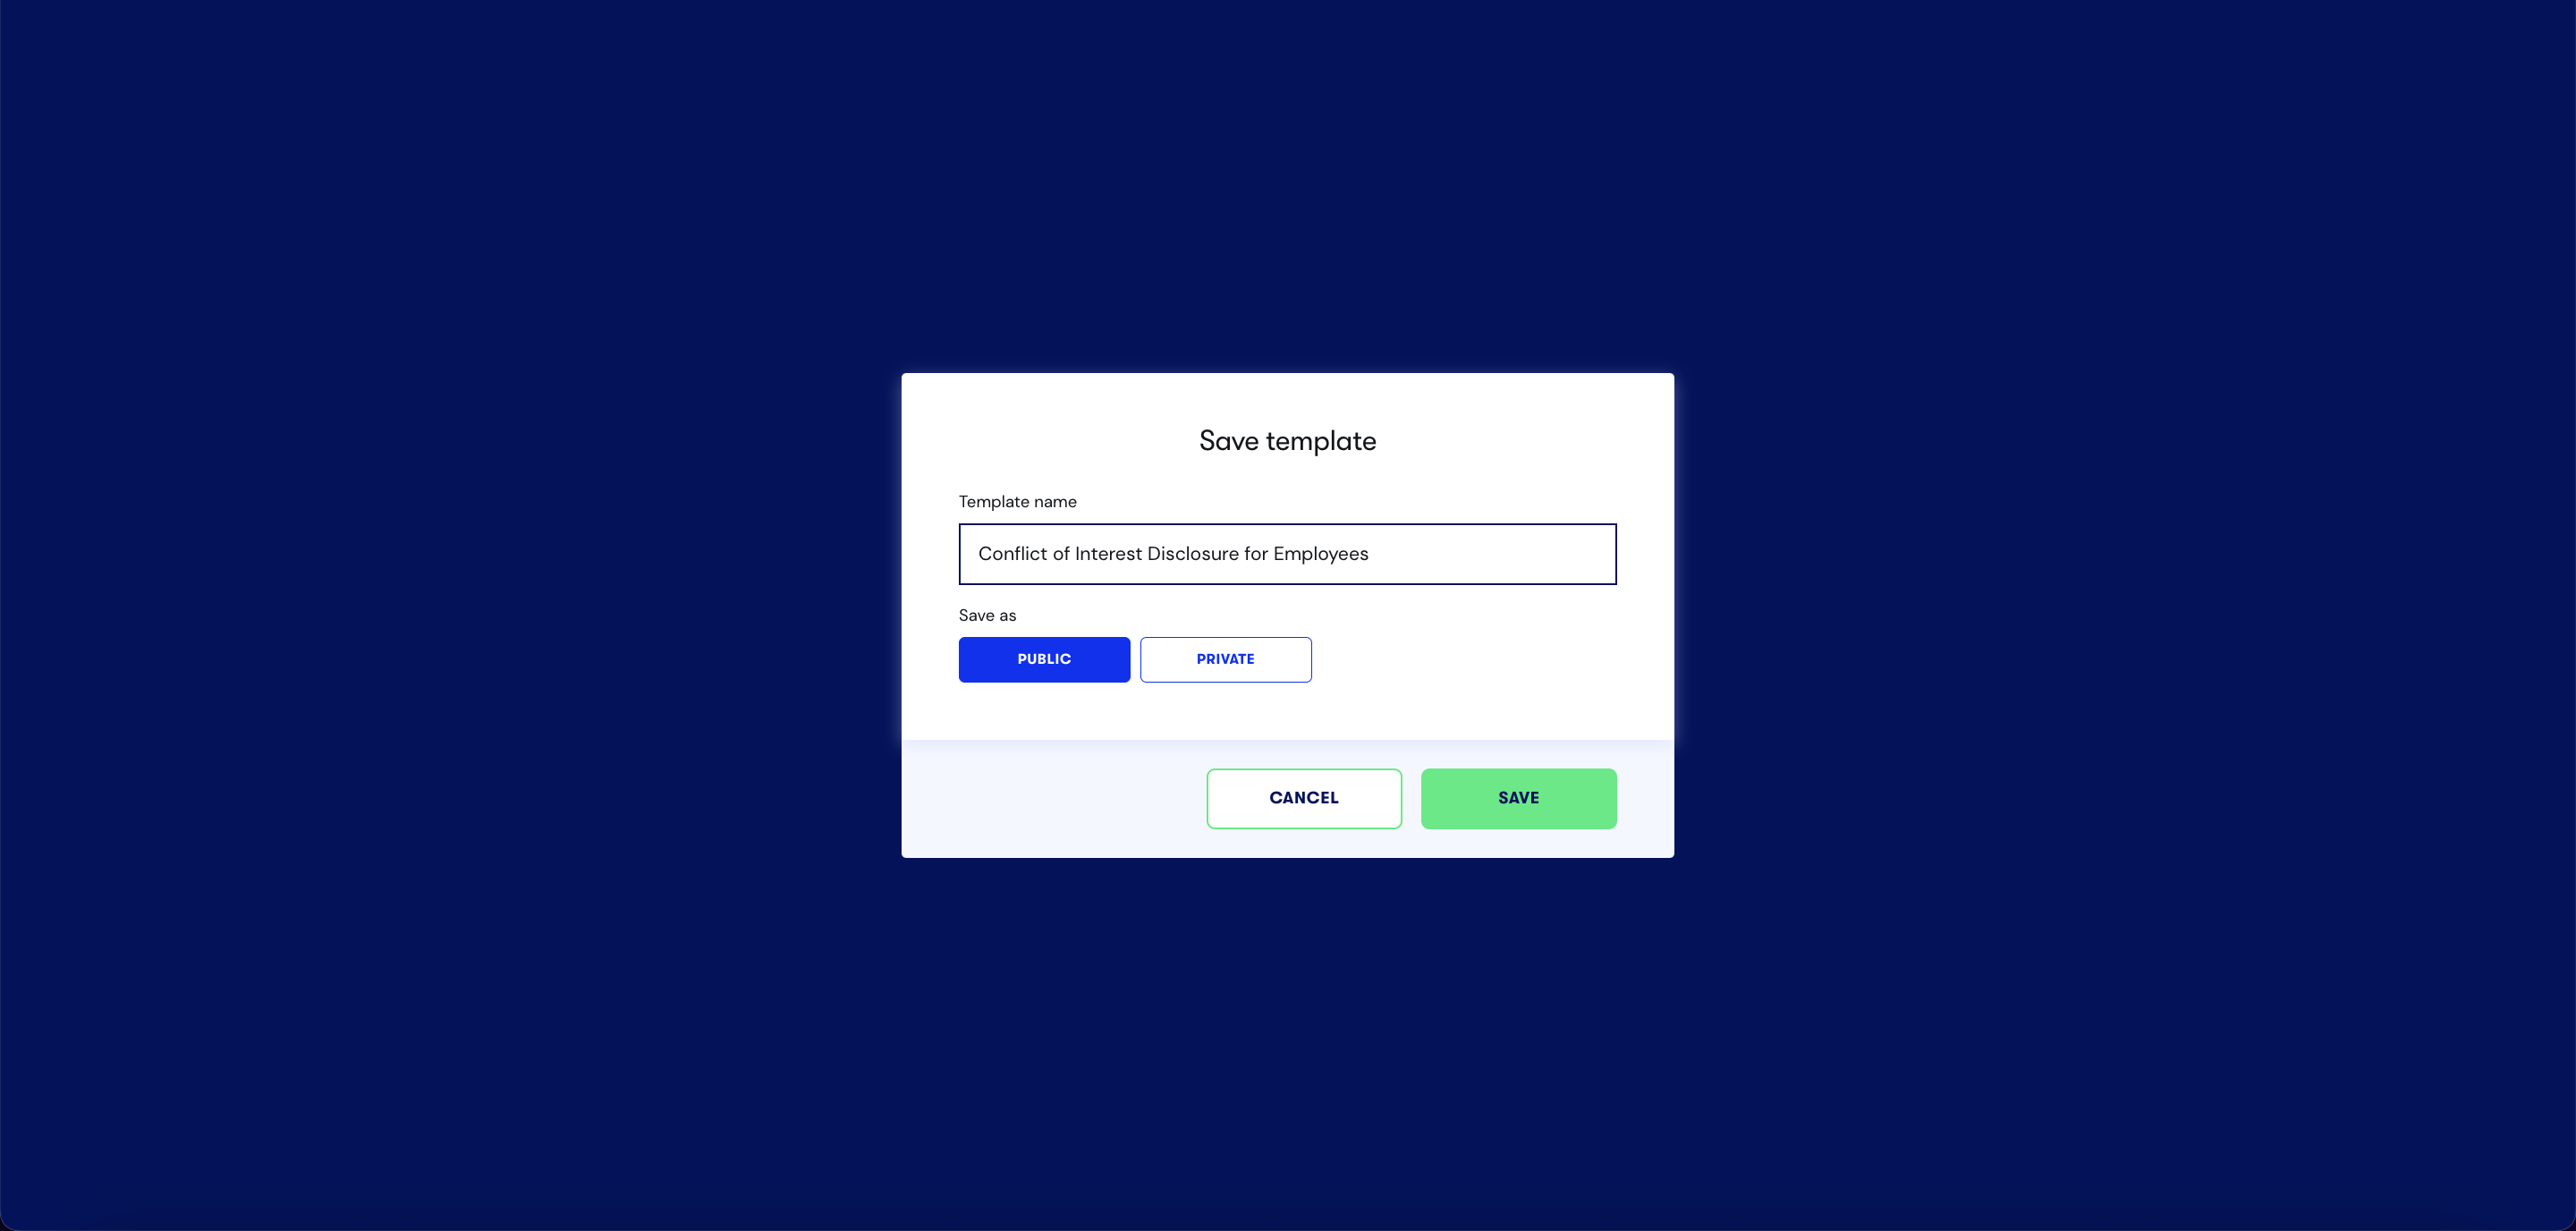
Saving your form as a template would require you to provide the following information:
- template name; and
- which type to save your template as
Template names must be unique. The system will give you an error message if the name you have inputted already exists.
Saving your template as a Public template means other users of the application will be able to see your template. This also means they can use your template to build their questionnaires or templates.
Saving your template as a Private template means the template is only visible to you.
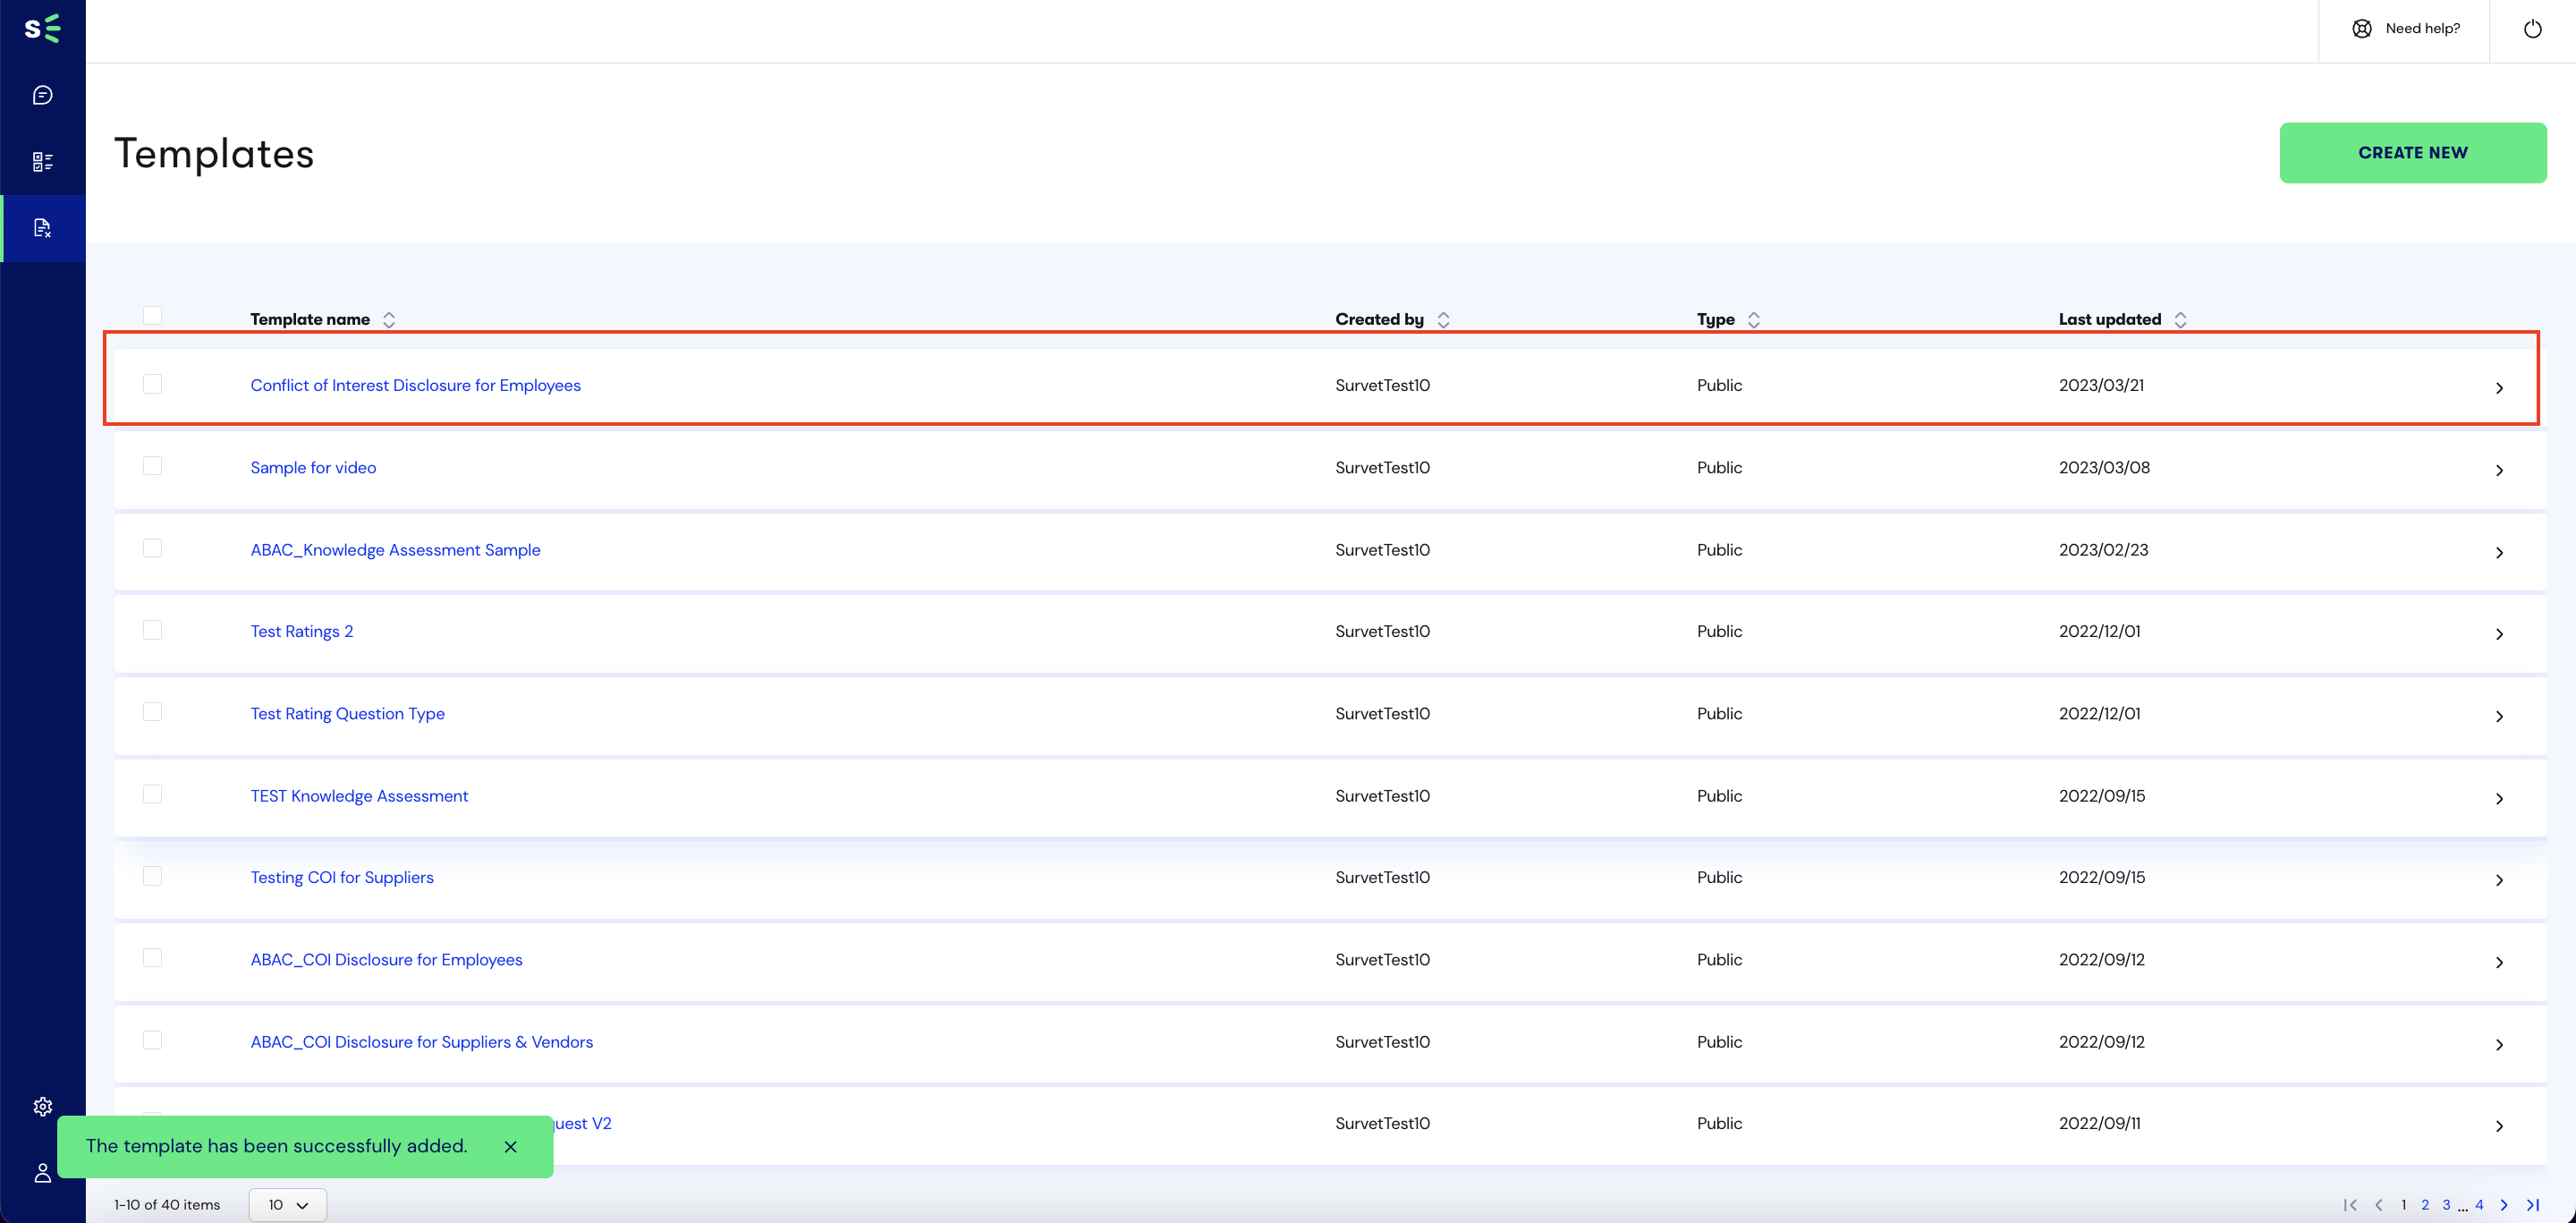
Clicking on SAVE in the modal will save your template. A successful save will redirect you to the My Templates page where you can see your template at the top of the list.
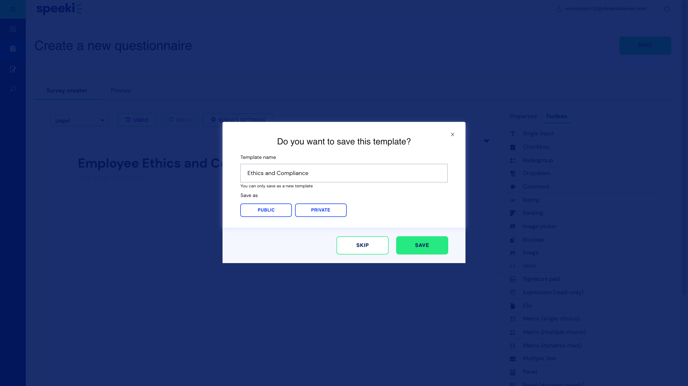
Choosing the SKIP will skip template saving and will direct you to the page for publishing your form.

Link to guide on publishing a form and managing form accessibility
